> ## Documentation Index
> Fetch the complete documentation index at: https://docs.millis.ai/llms.txt
> Use this file to discover all available pages before exploring further.
# Embeddable Call Widget
> Embedding a Voice Agent Call Widget into Your Web Application
Millis AI offers a simple and effective way to integrate voice interaction into your web applications through our embeddable call widget. This widget allows users to interact with your voice agent directly from your website, providing a seamless user experience.
The widget includes a button to start and stop interactions and features an animation of an audiogram to visually represent the audio interaction similar to our demo page.
## Steps to Embed the Voice Agent Call Widget
#### Step 1: Create your voice agent
#### Step 2. Obtain the widget embeddable code
* Navigate to the voice agent you want to embed.
* Click on the "Actions" button on the top right and select 'Embed to public site'.
 * Copy the provided HTML code.
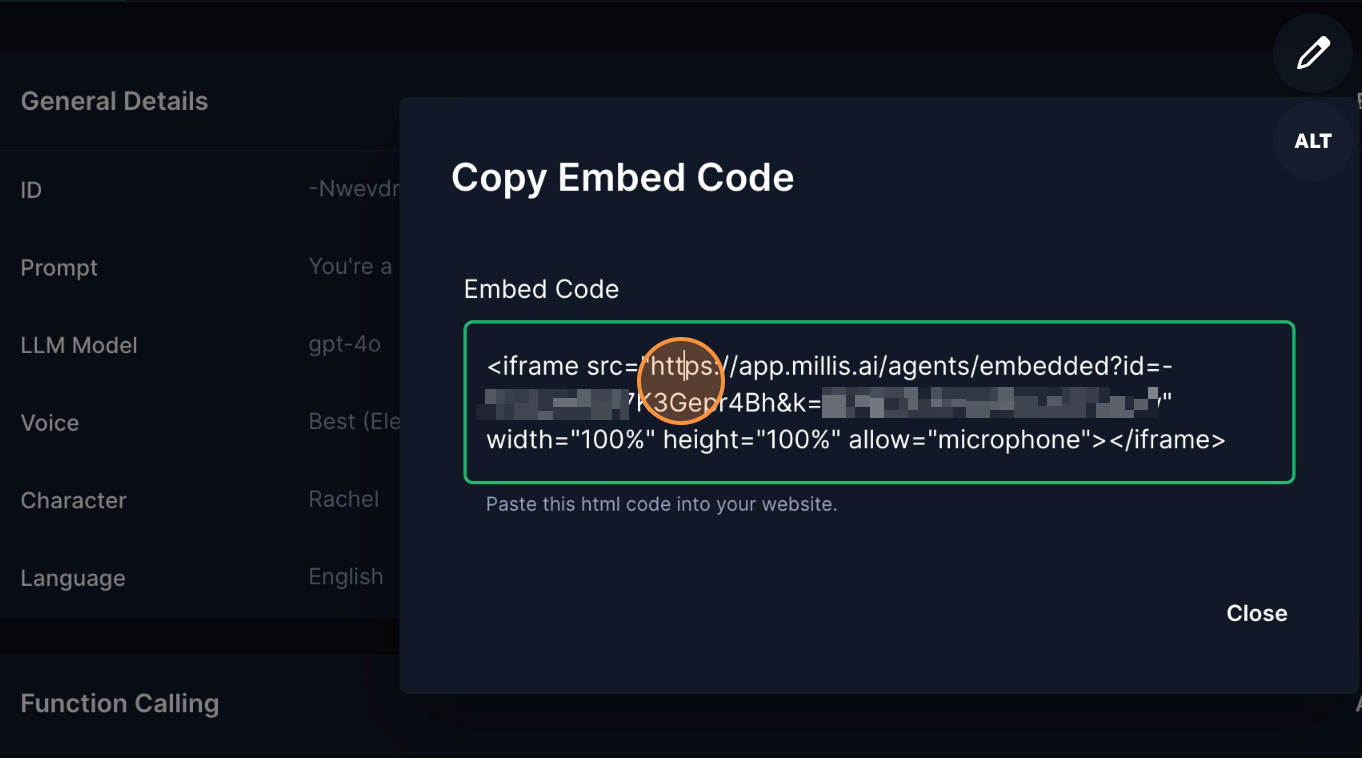 #### Step 3: Embed the widget into your web application
With the HTML code, you can place it anywhere in your web app to embed the widget. Here's how to do it on Webflow:
* Navigate to the designated area and add a "Code Embed" component.
#### Step 3: Embed the widget into your web application
With the HTML code, you can place it anywhere in your web app to embed the widget. Here's how to do it on Webflow:
* Navigate to the designated area and add a "Code Embed" component.
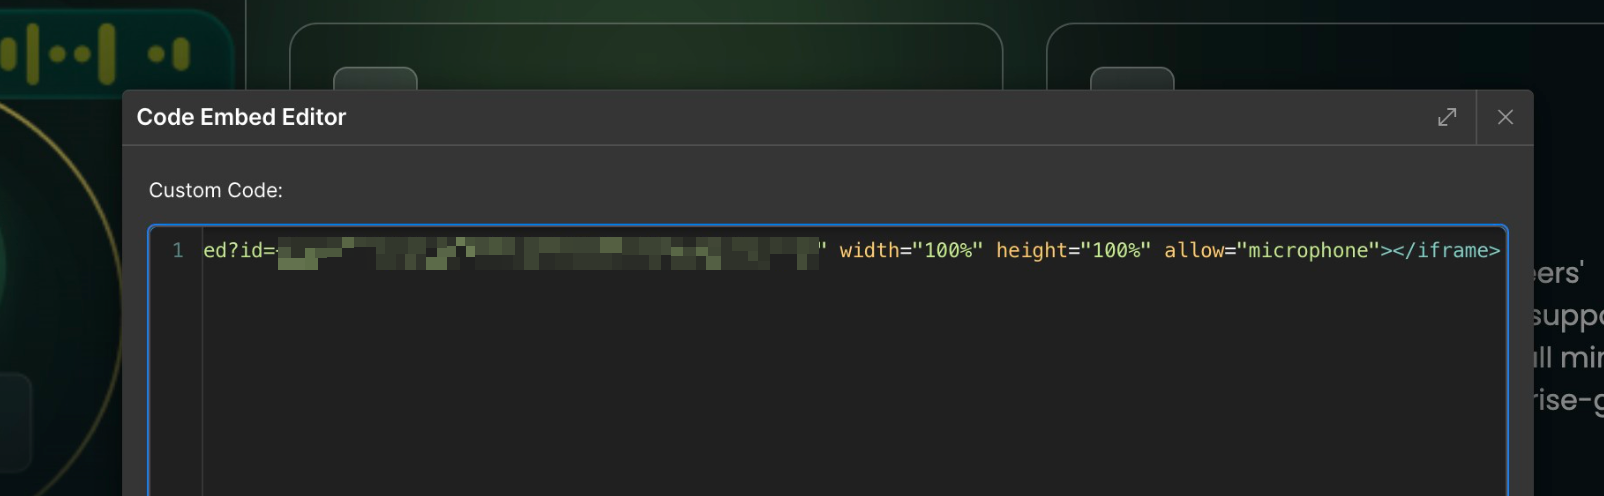
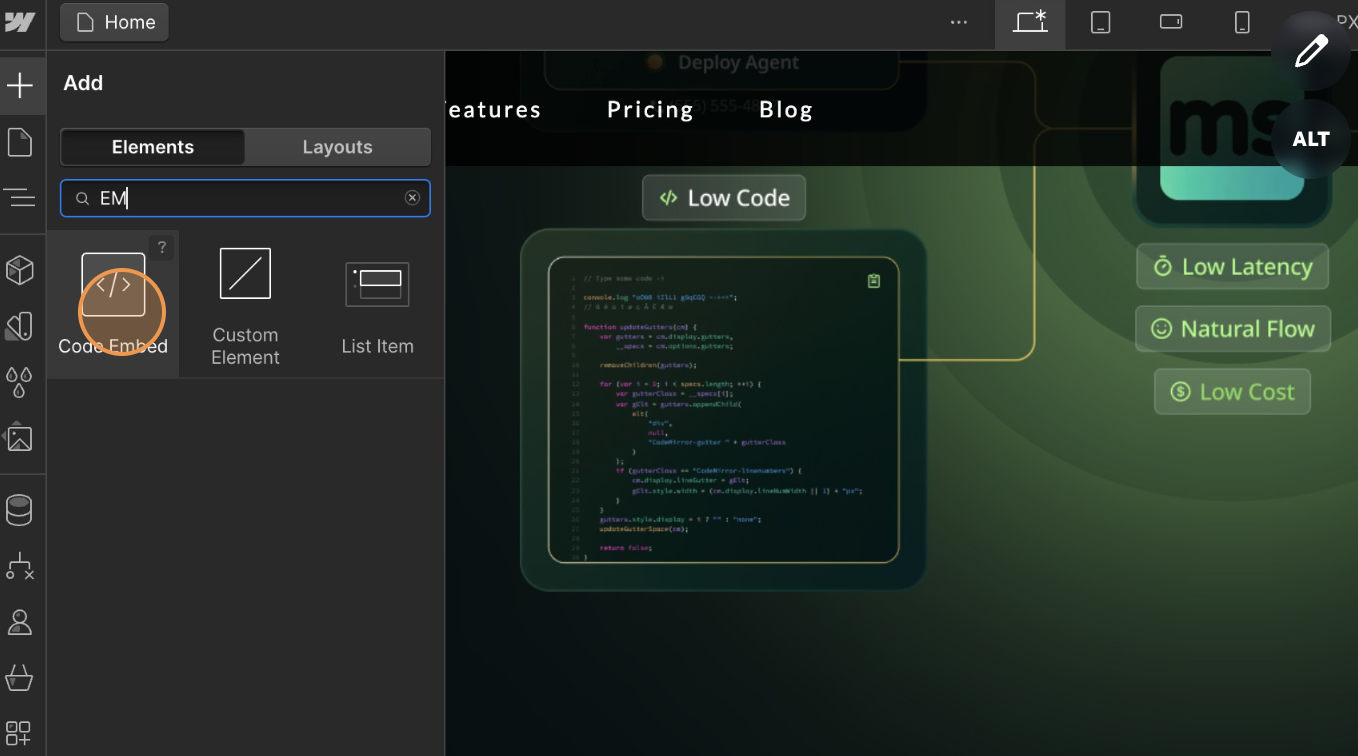 * Paste the HTML code provided above, then click 'Save'.
 ## Adding Metadata via URL Parameters
You can customize each widget session by adding URL parameters that will be passed as metadata. This allows you to provide context-specific information to your voice agent.
### Example Usage
You can add metadata parameters like this:
```html theme={null}
https://app.millis.ai/agents/embedded?id=XXXX&k=YYYYYY&userName=John&userType=premium
```
These parameters will be automatically converted into metadata for the session, allowing your agent to access this information during the conversation. You can reference this metadata using [variables](/core-concepts/variables) in your agent's prompts or function calls.
### Common Use Cases
* Adding user identification information
* Passing context about the page or section where the widget is embedded
* Providing custom configuration parameters for the conversation
Remember that any metadata added via URL parameters will be visible in the URL. Don't include sensitive information this way.
Learn more about how metadata works in Millis AI [here](/core-concepts/metadata).
## Adding Metadata via URL Parameters
You can customize each widget session by adding URL parameters that will be passed as metadata. This allows you to provide context-specific information to your voice agent.
### Example Usage
You can add metadata parameters like this:
```html theme={null}
https://app.millis.ai/agents/embedded?id=XXXX&k=YYYYYY&userName=John&userType=premium
```
These parameters will be automatically converted into metadata for the session, allowing your agent to access this information during the conversation. You can reference this metadata using [variables](/core-concepts/variables) in your agent's prompts or function calls.
### Common Use Cases
* Adding user identification information
* Passing context about the page or section where the widget is embedded
* Providing custom configuration parameters for the conversation
Remember that any metadata added via URL parameters will be visible in the URL. Don't include sensitive information this way.
Learn more about how metadata works in Millis AI [here](/core-concepts/metadata).