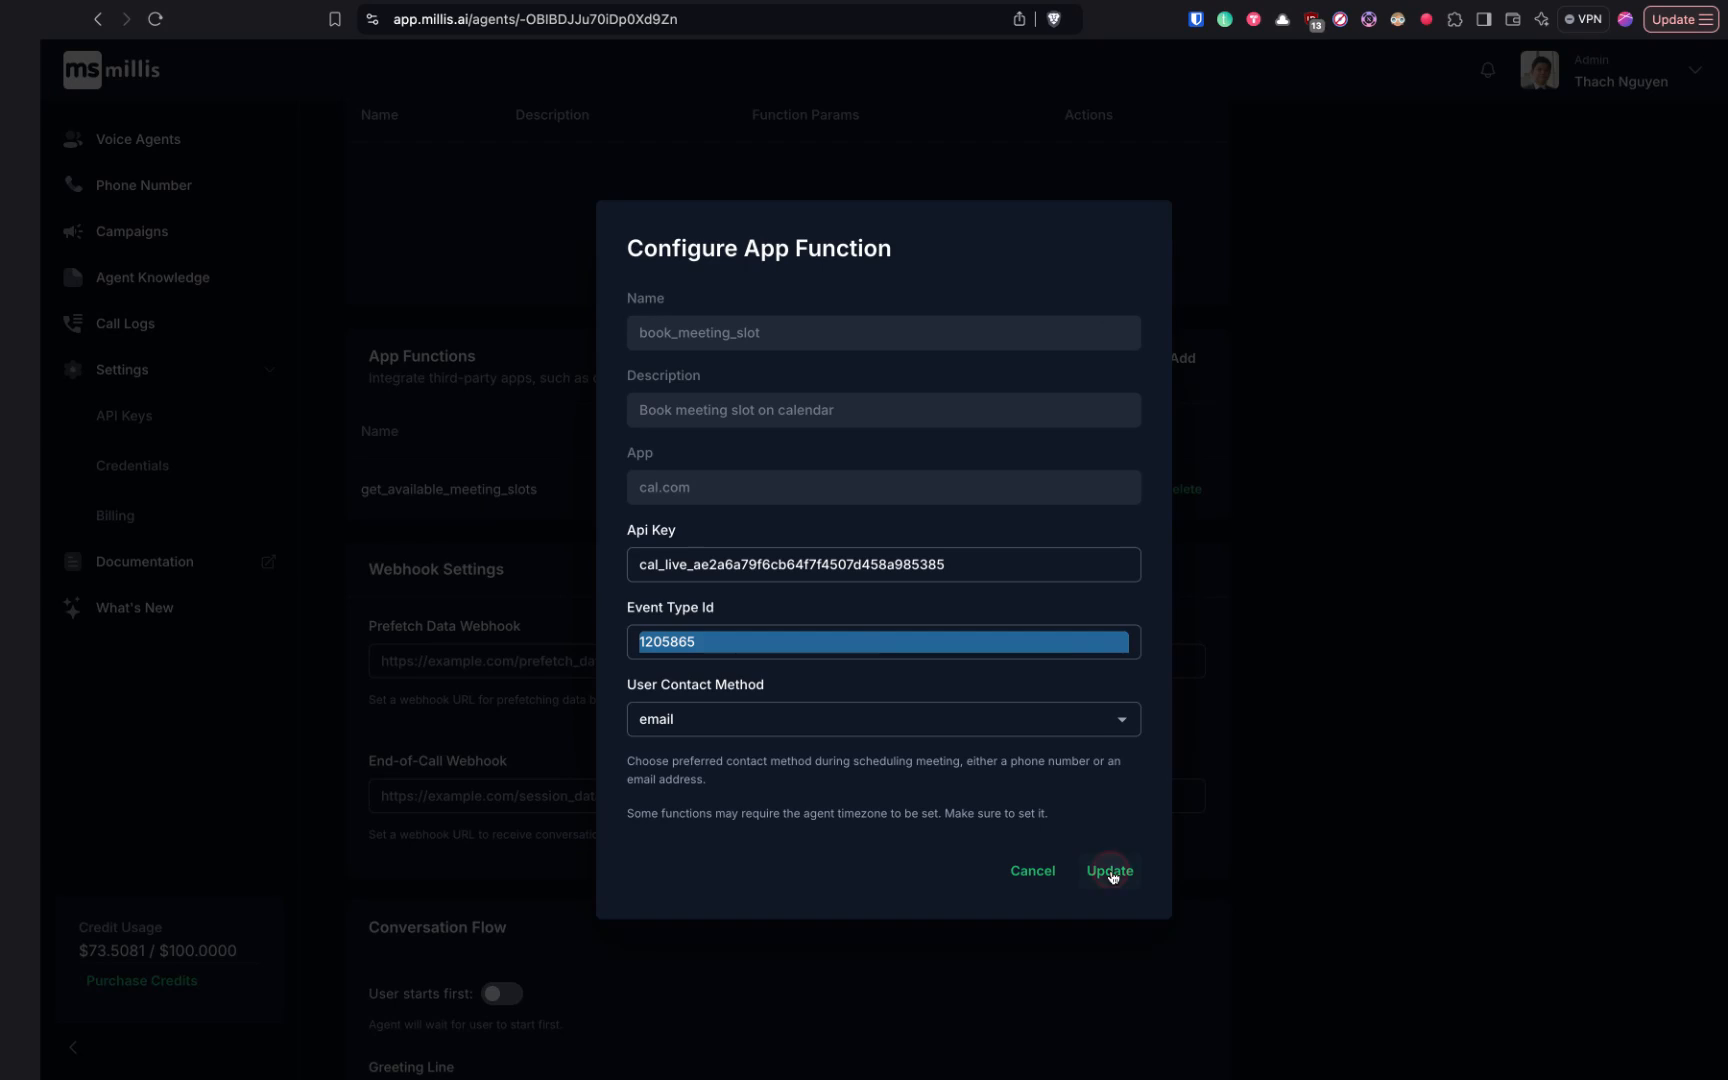
This guide details the process of creating a voice agent on Millis AI. The agent will handle calendar availabilities and booking appointments, integrating with various booking management software. The instructions cover setting up time zones, integrating third-party services, and configuring user contact methods.
Step 1
Begin by setting the groundwork for creating a voice agent on Millis AI. This agent will manage calendar availability and booking appointments, a common use case. Currently, there is integration with cal.com, a booking management software.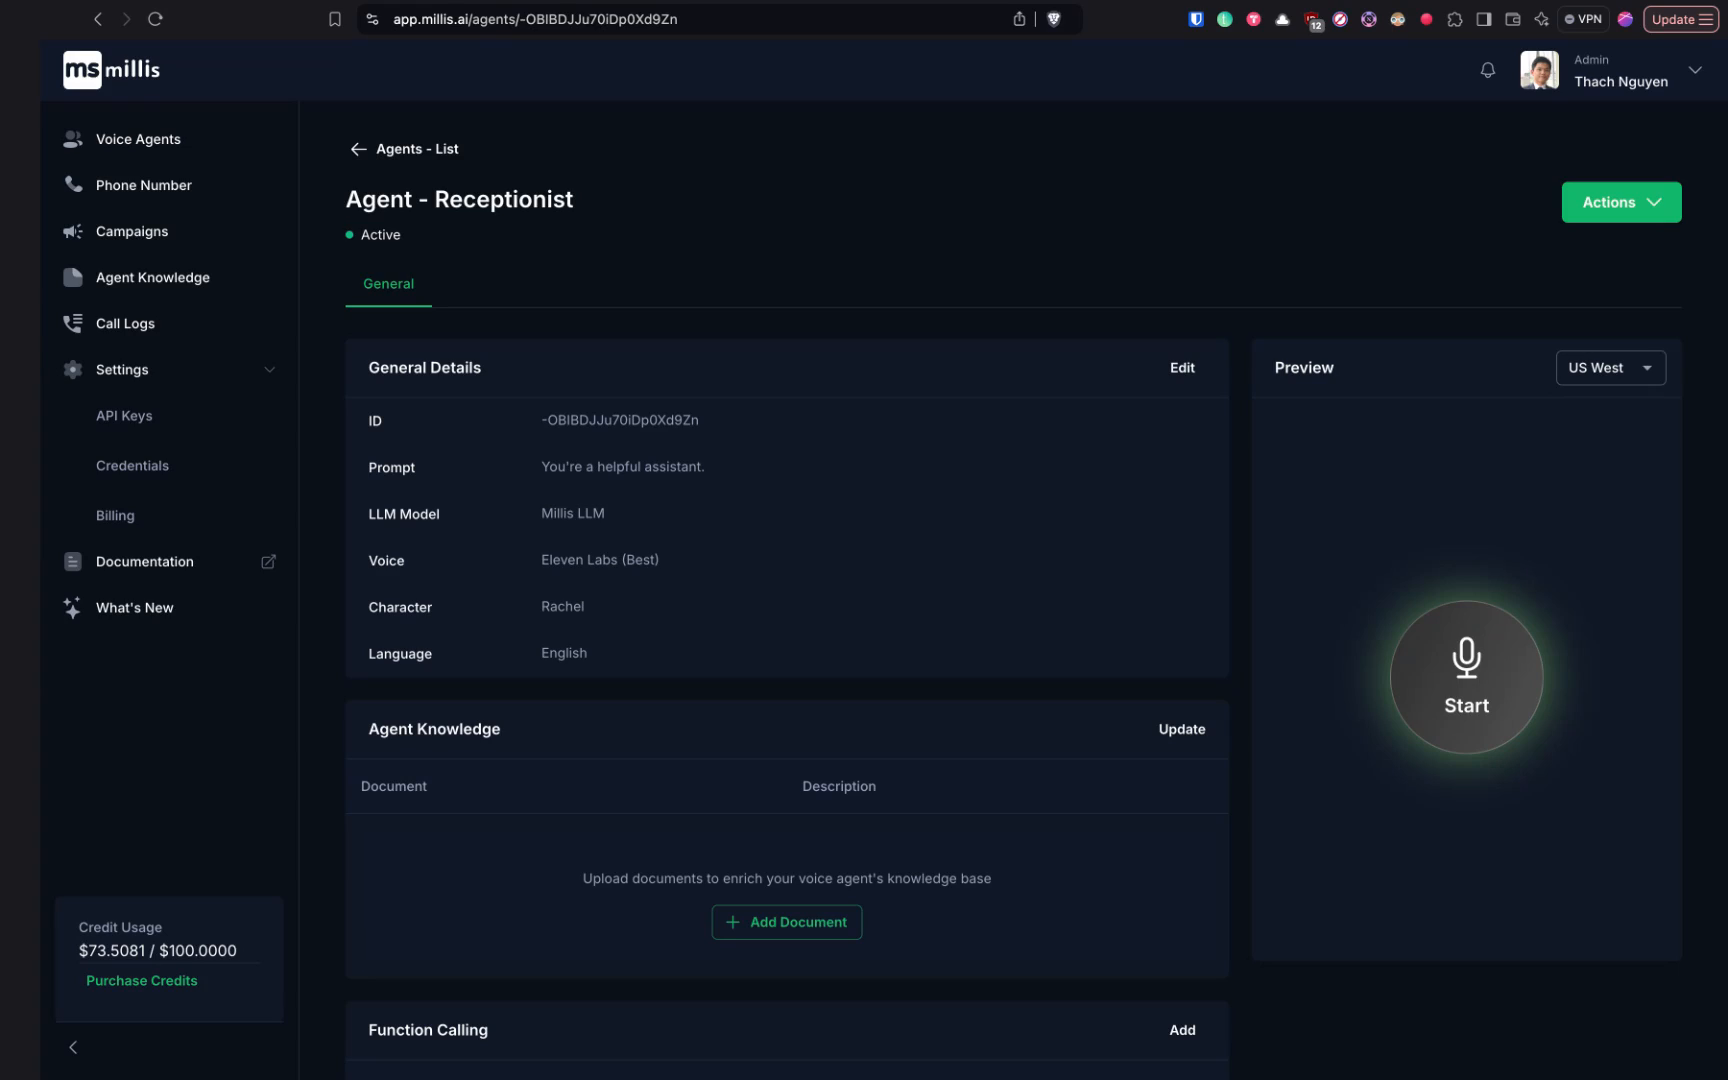
Step 2
We plan to integrate more services in the future, such as calendly.com and Google Calendar. Start by setting the time zone for your agent.
Step 3
This time zone setting ensures that when the agent books a date and time, it will use this local time zone.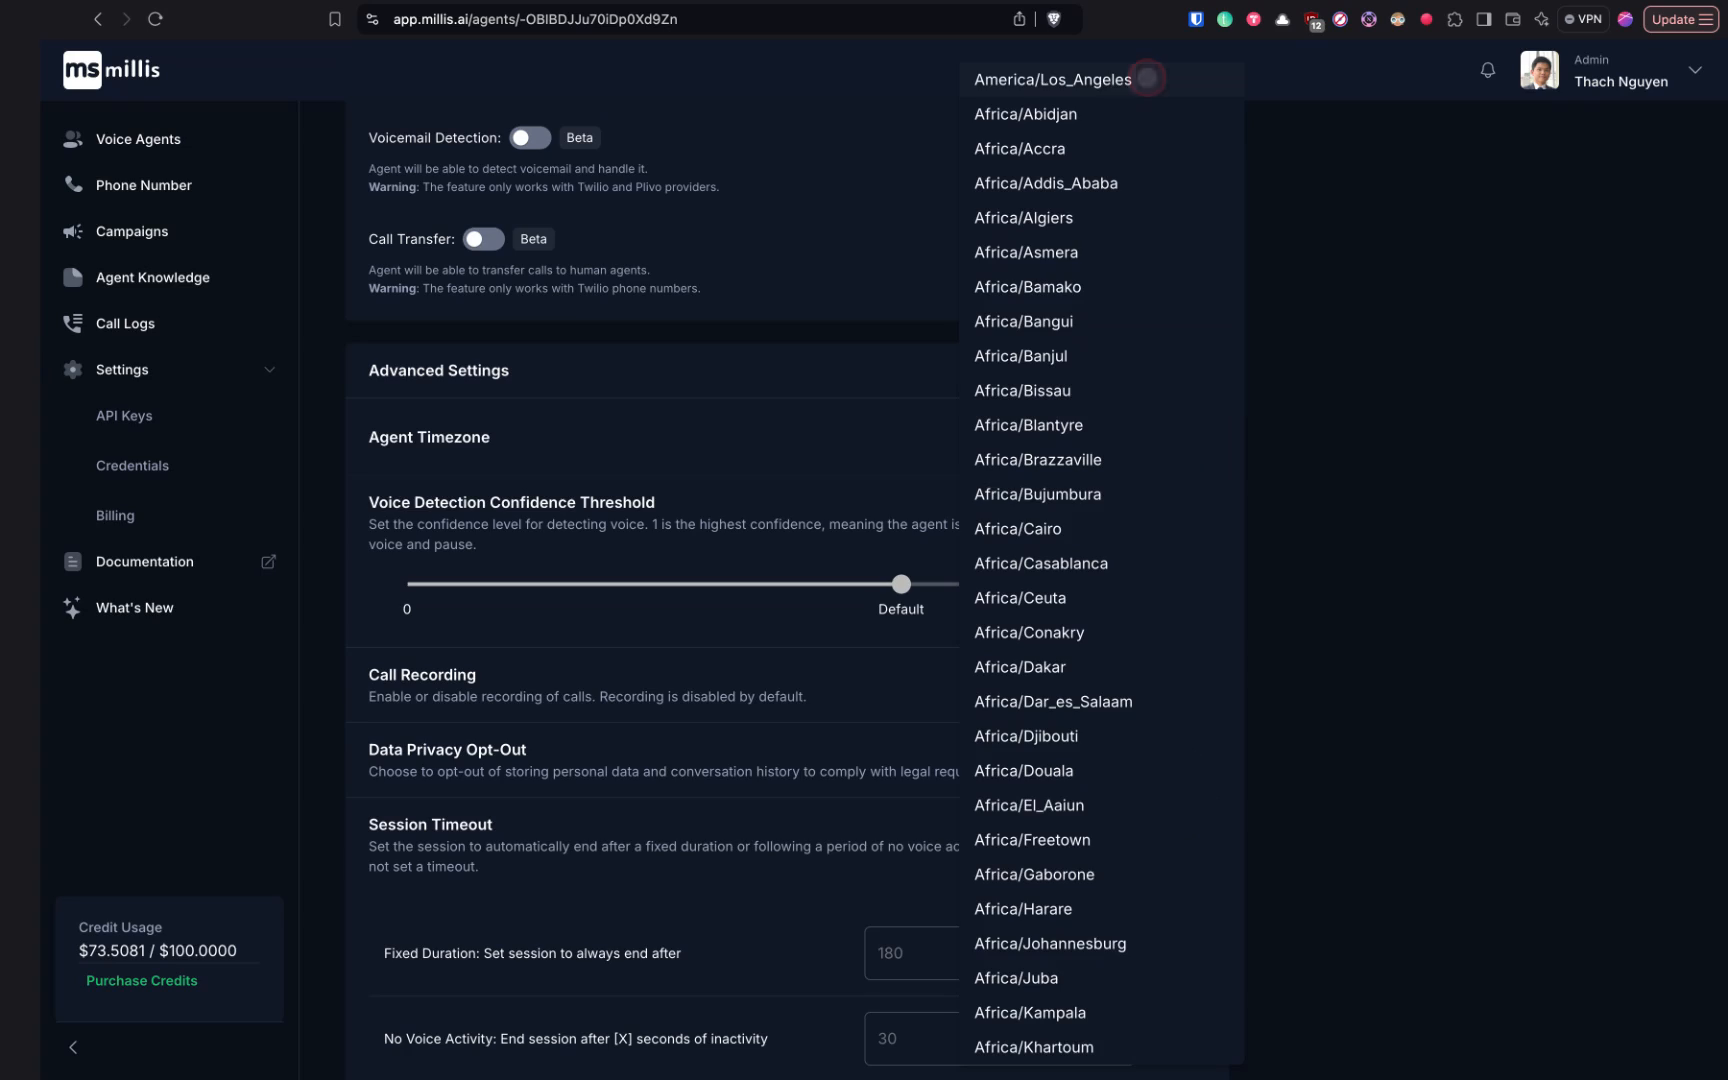
Step 4
Next, add a feature called app function. This feature allows integration with third-party services. For booking appointments, we will use cal.com as our integration.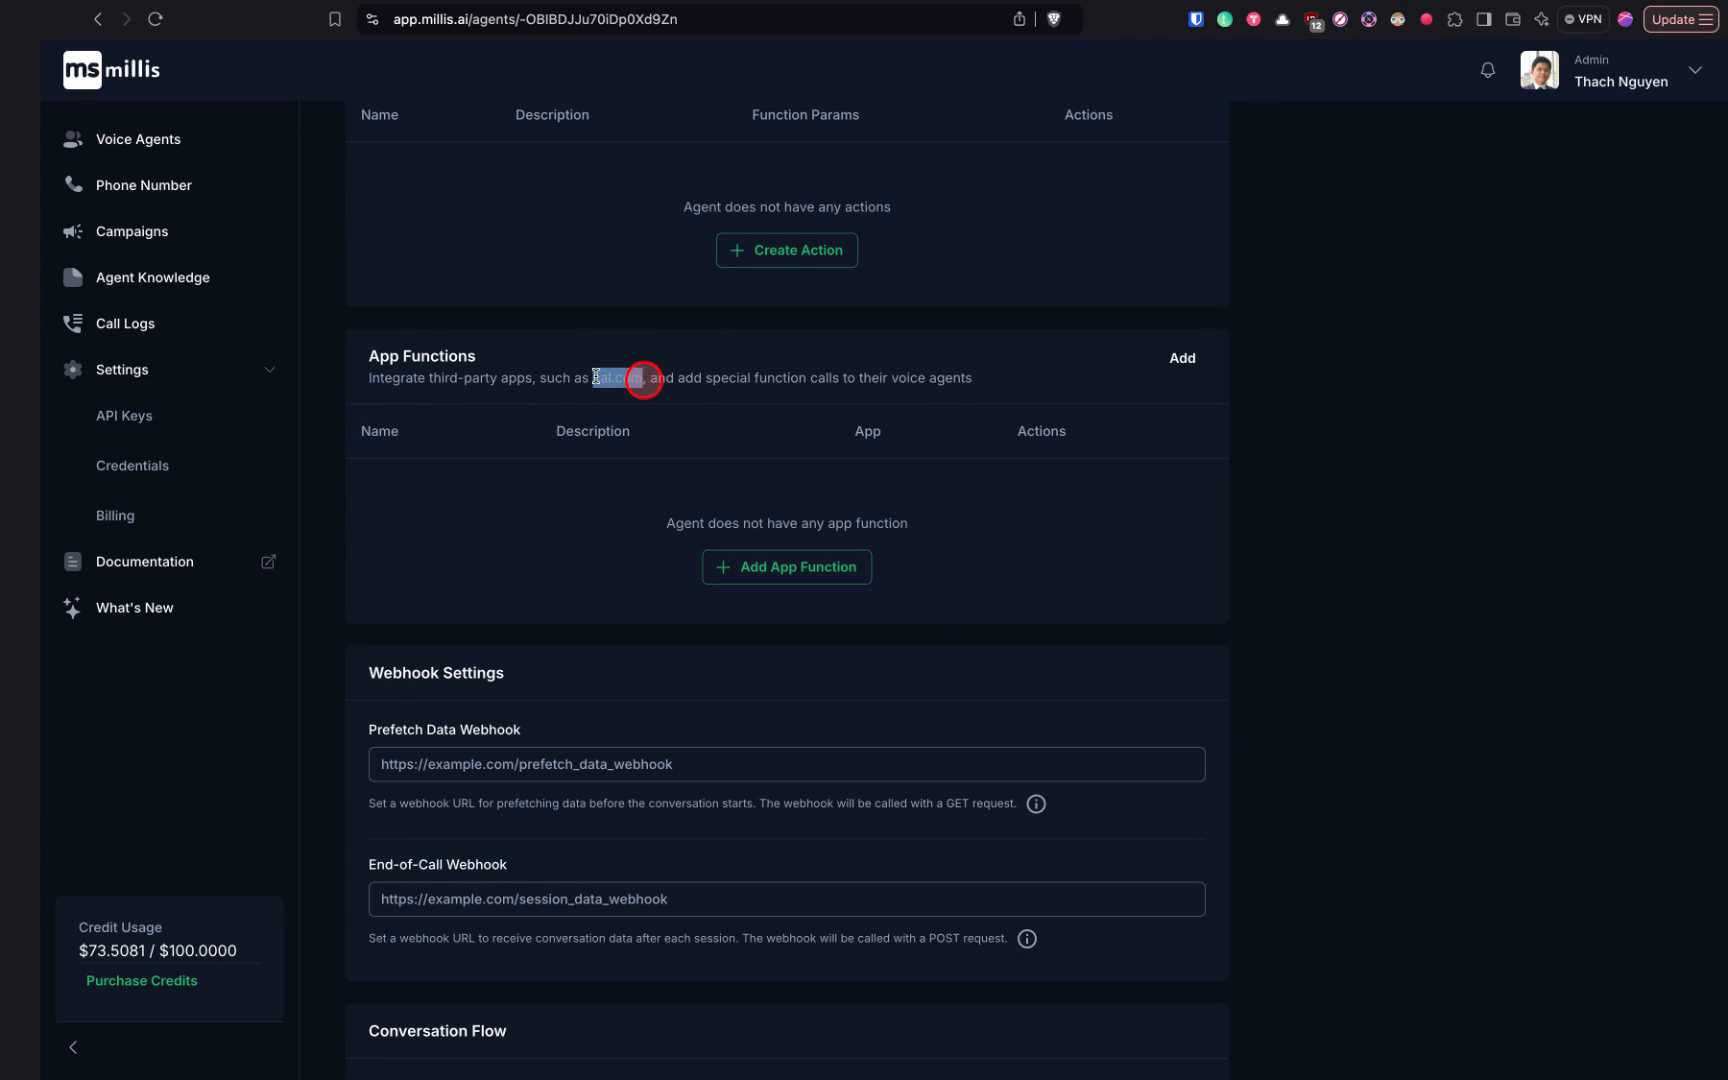
Step 5
For cal.com, there are two actions you can enable for the agent: one is returning available meeting slots, and the other is booking a meeting slot.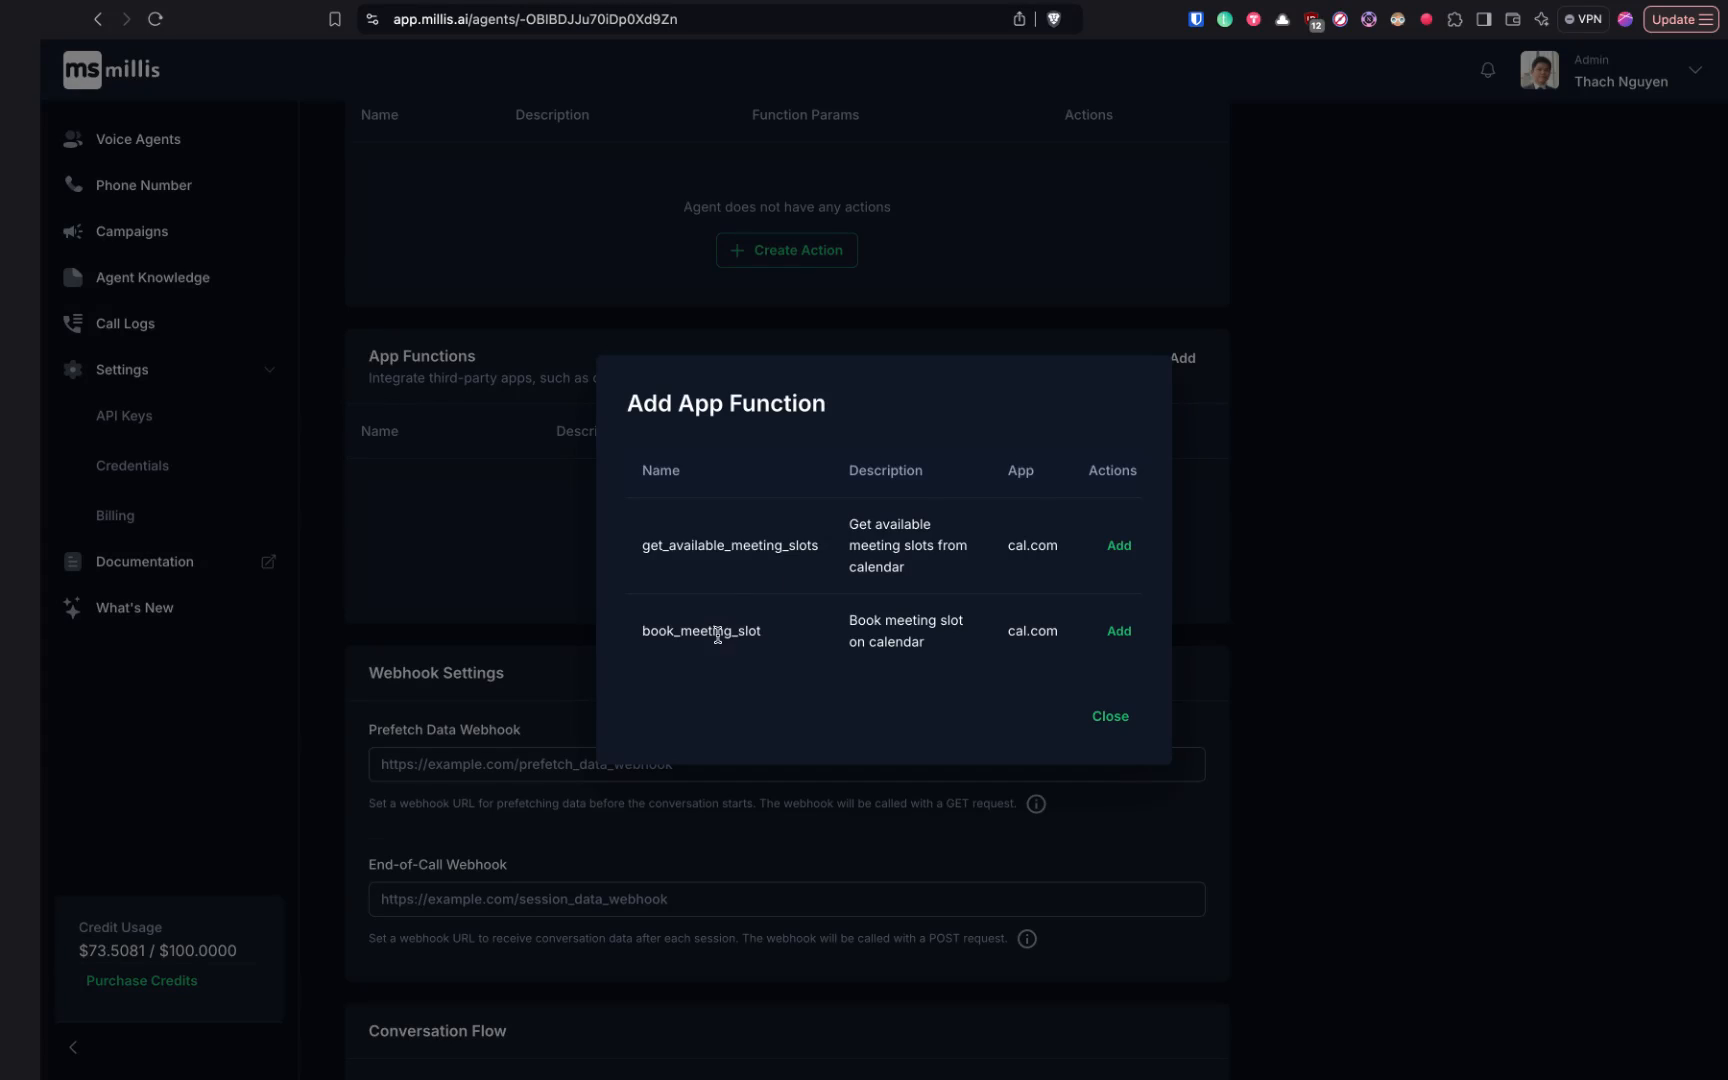
Step 6
It is advisable to enable both actions for your agent.
Step 7
Consider the API key and the event type as these are essential.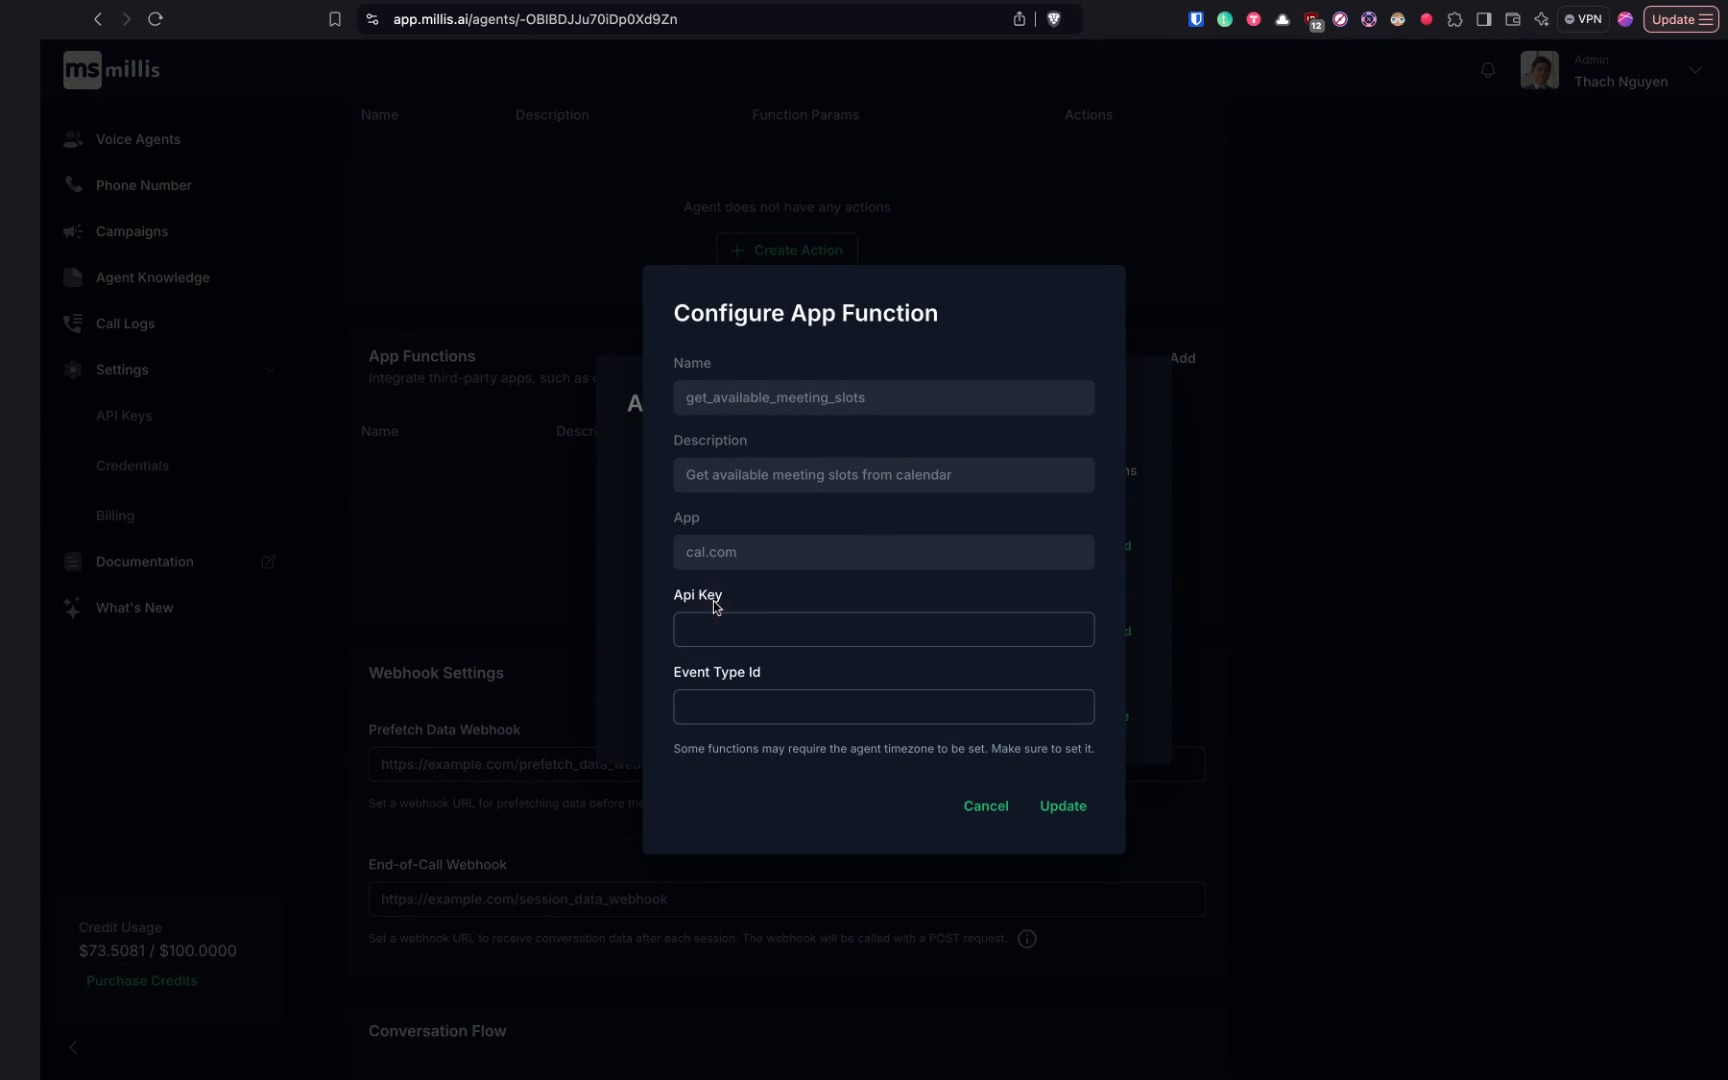
Step 8
Navigate to cal.com and sign up for an account. It is free to do so. After signing up, create an event and provide necessary information.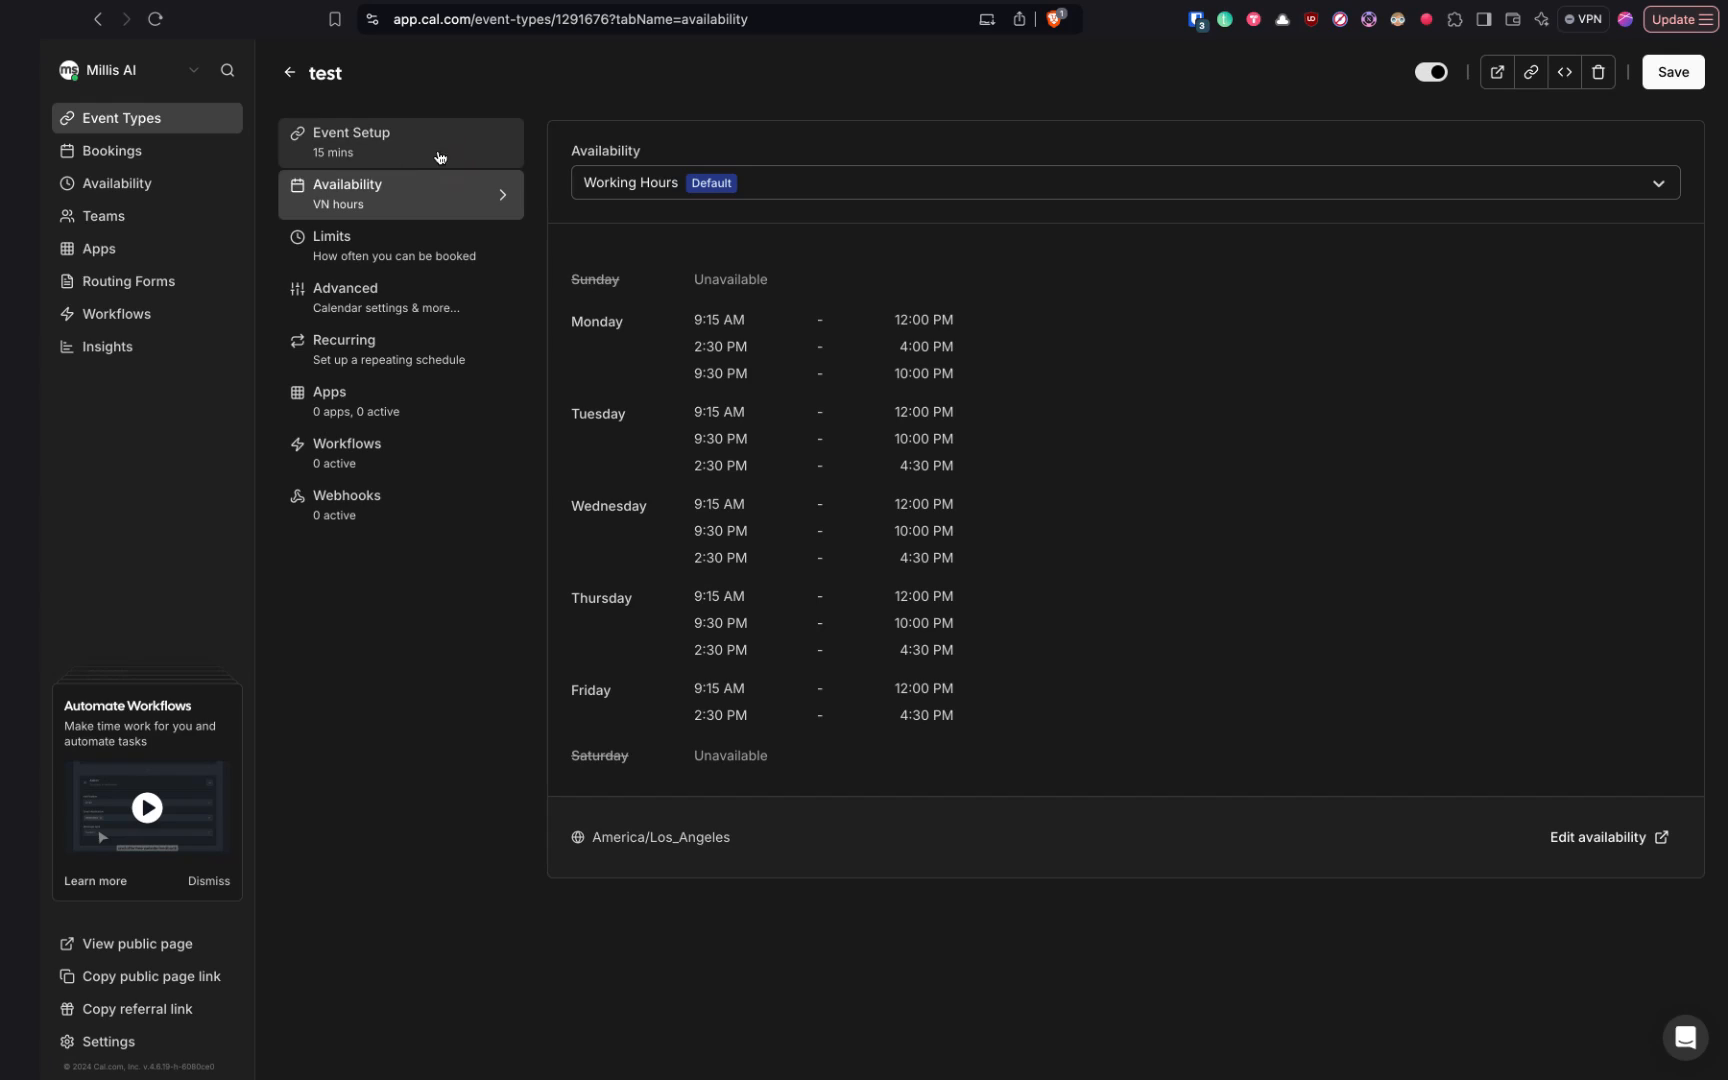
Step 9
Ensure you set the availability. Once done, look at the URL to find event types followed by some ID.
Step 10
This ID is the event type ID. Copy and paste it into the event type ID field.
Step 11
For the API key, return to cal.com and go to the settings to find the API key section.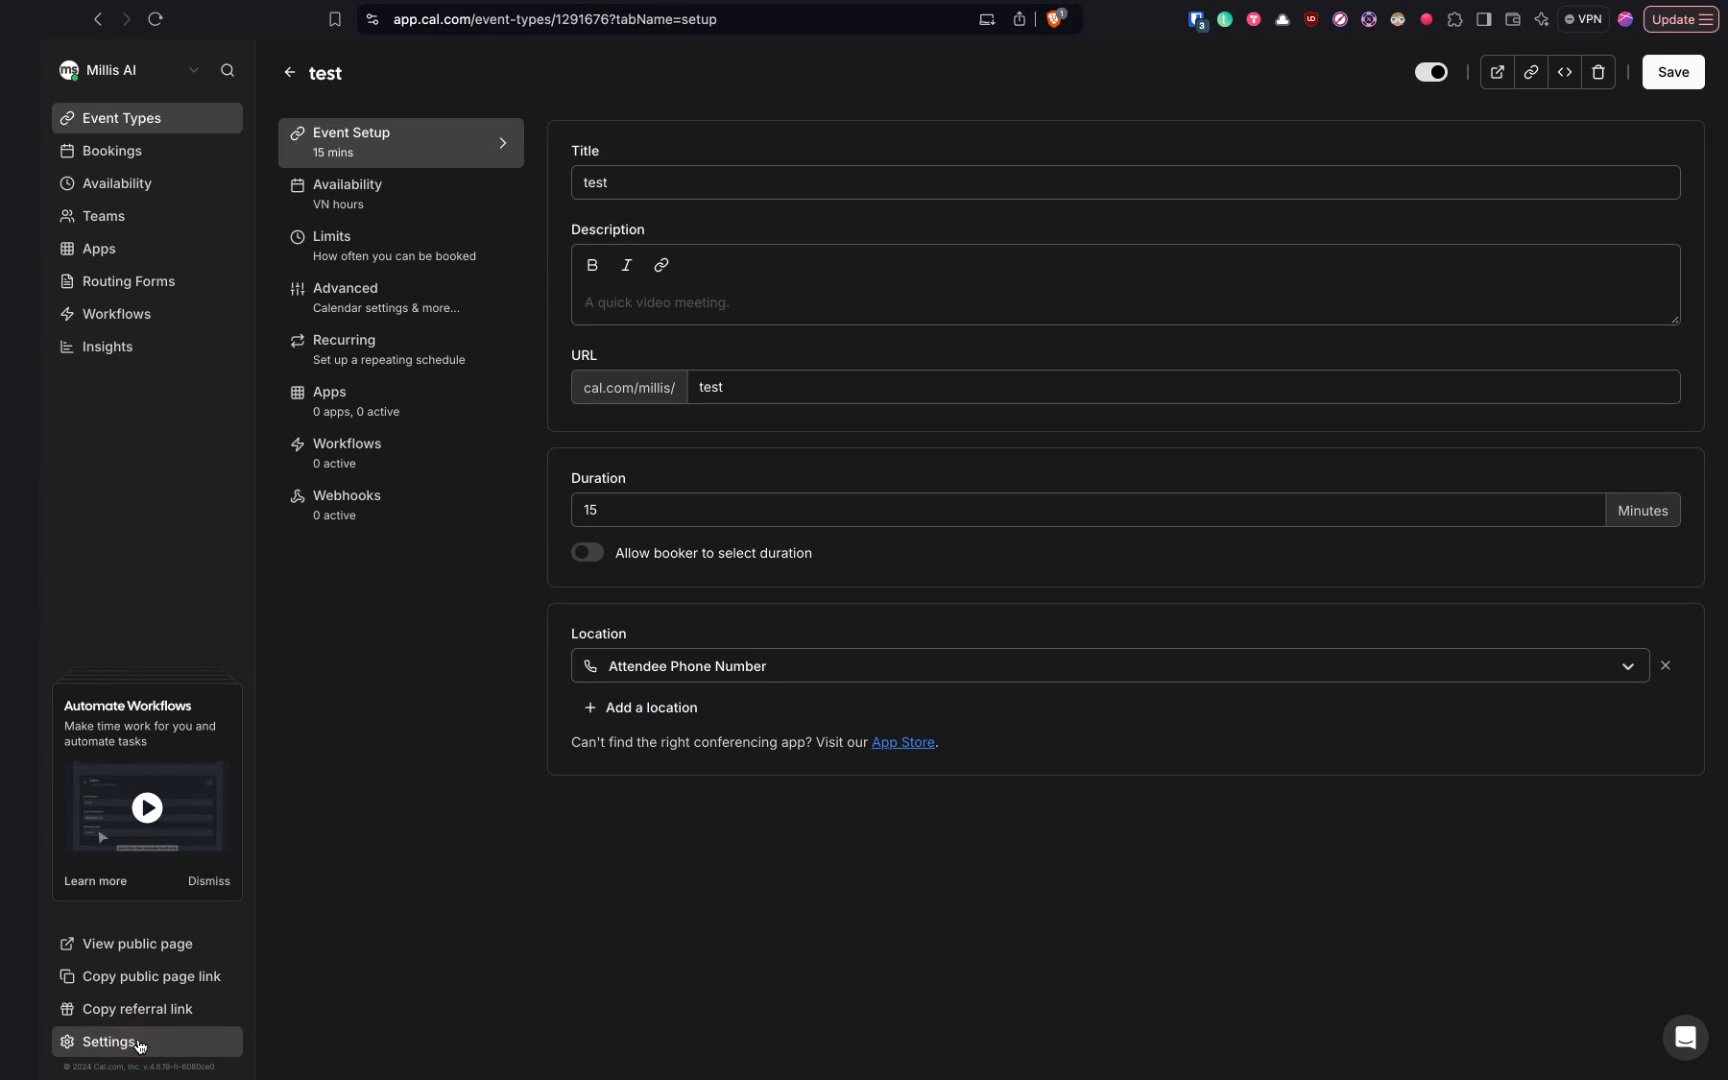
Step 12
Add a new API key with no expiration date and copy it.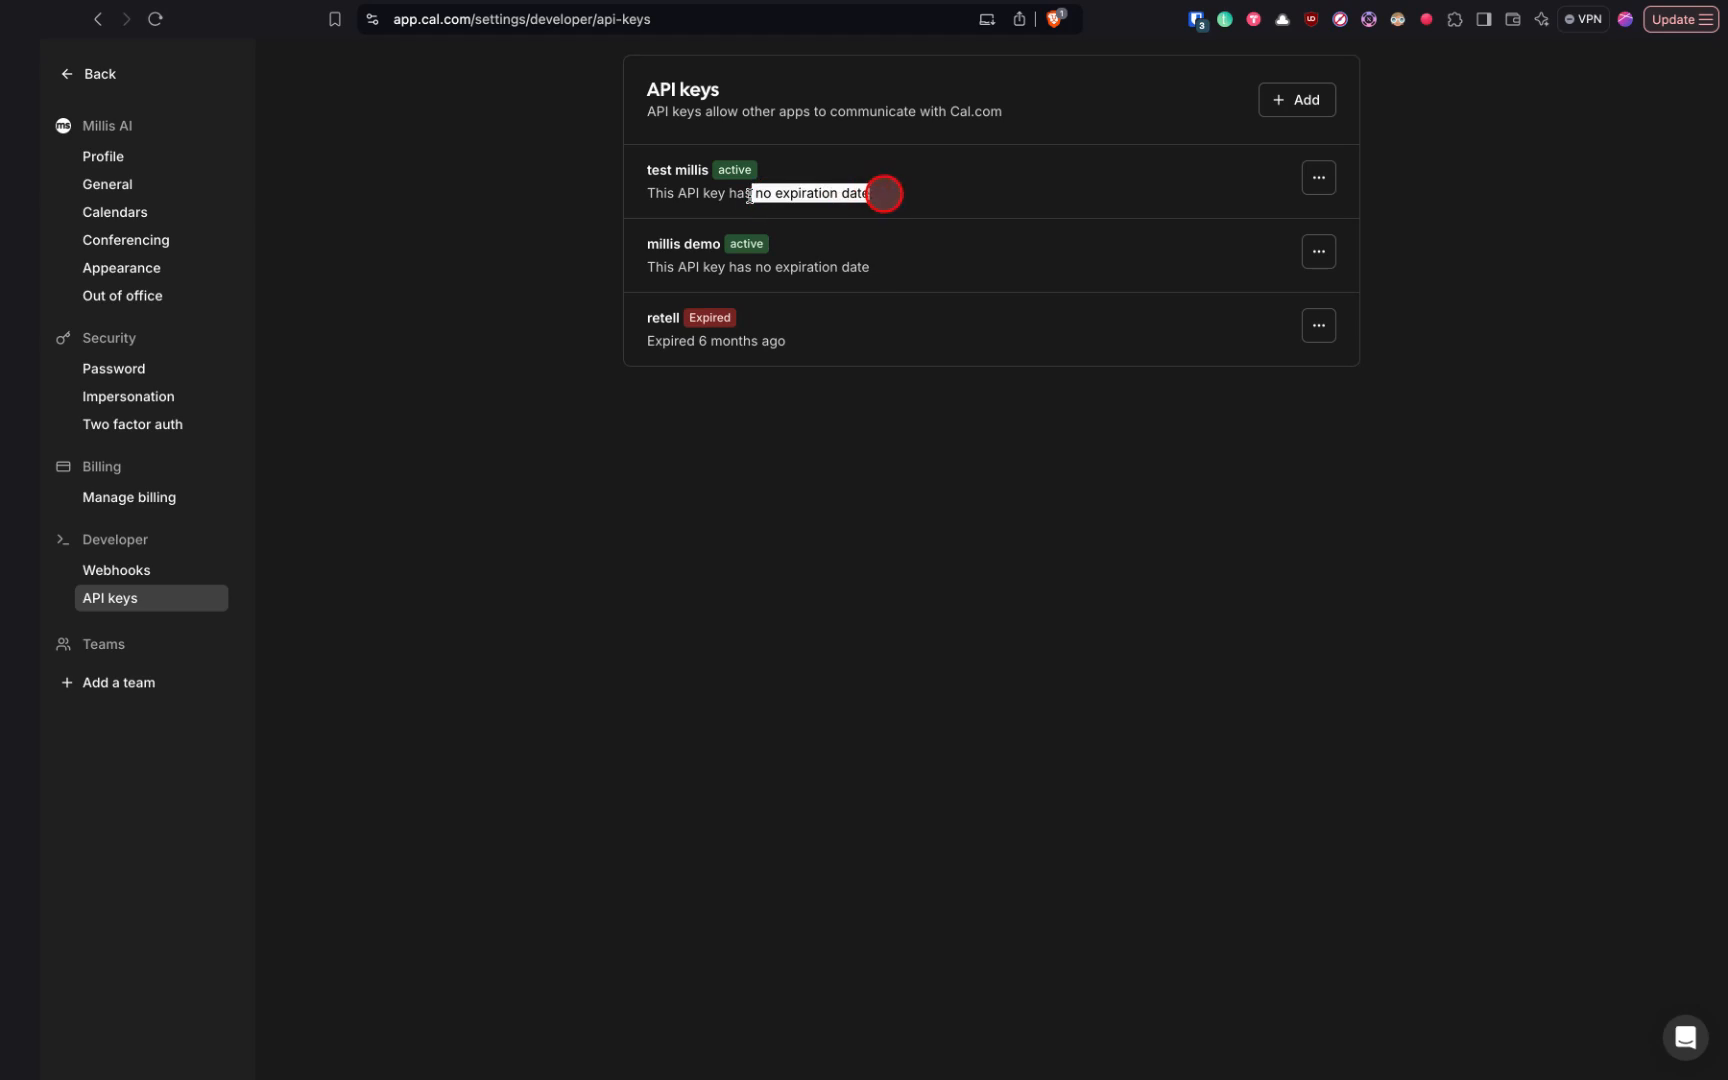
Step 13
Make sure the API key is set with no expiration date.
Step 14
Paste the API key into the relevant pop-up and add another key for booking meetings.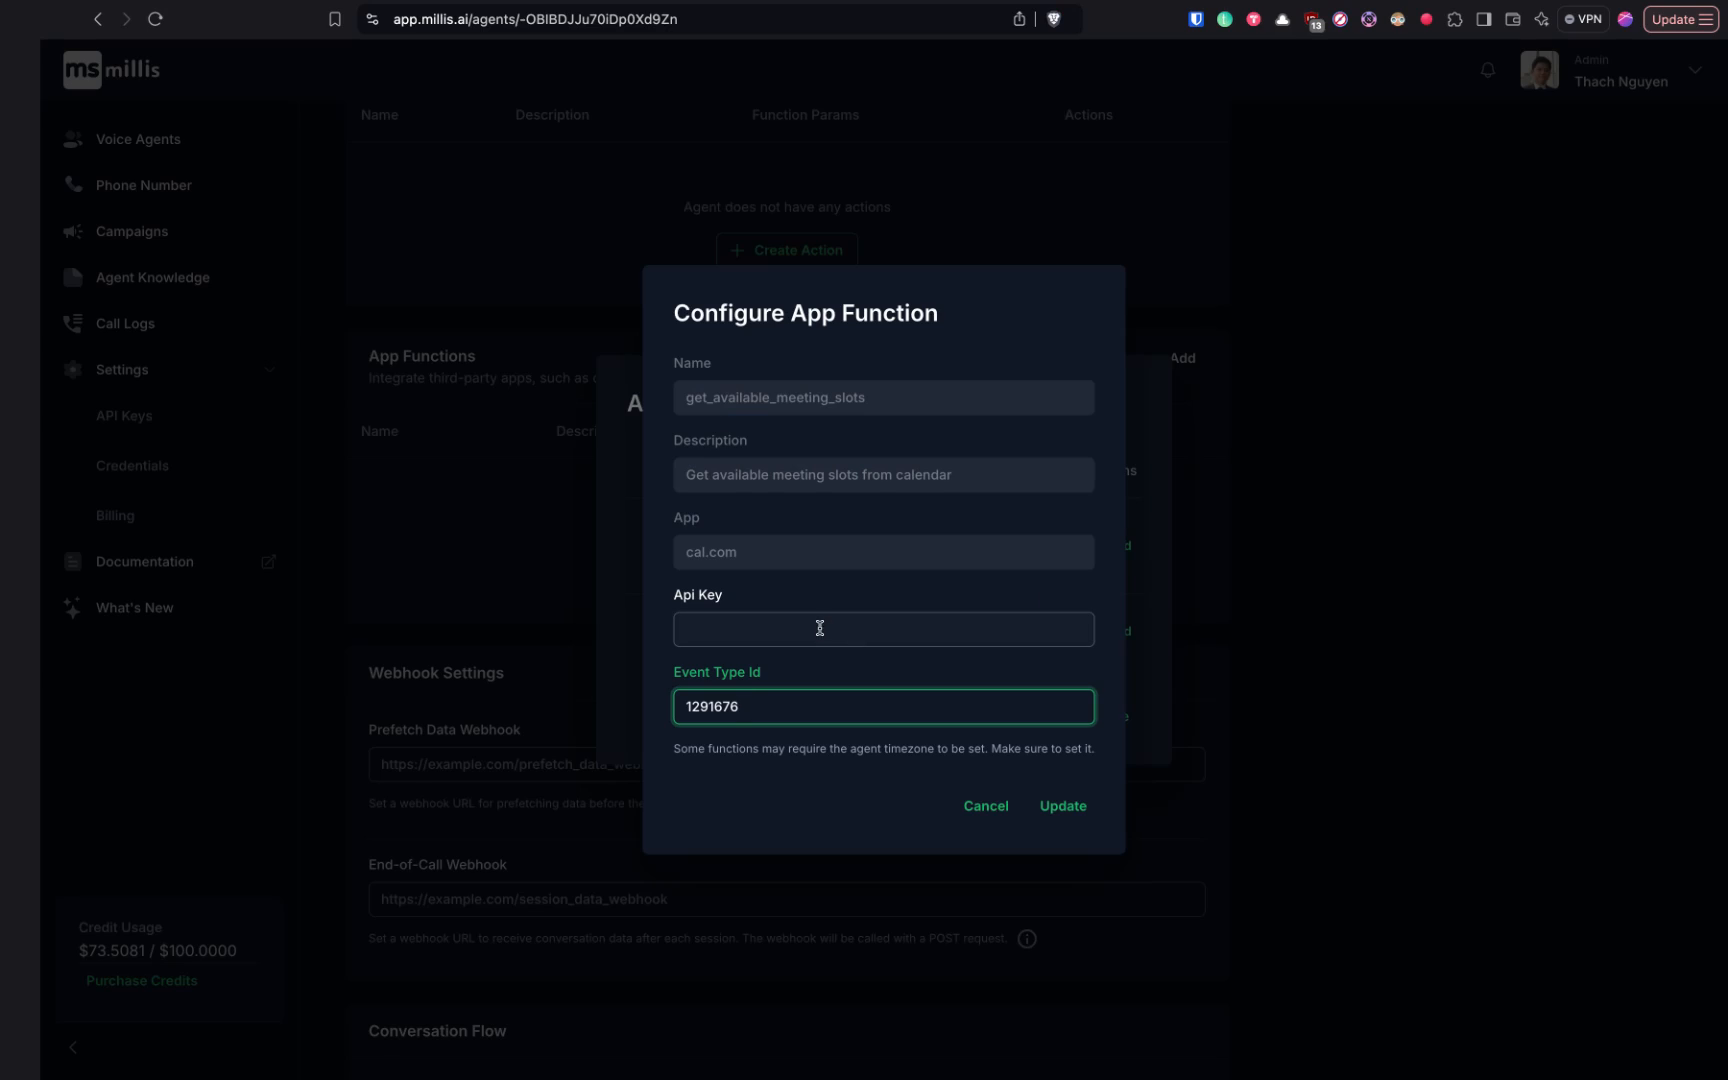
Step 15
Use the same API key and event type for booking meeting slots.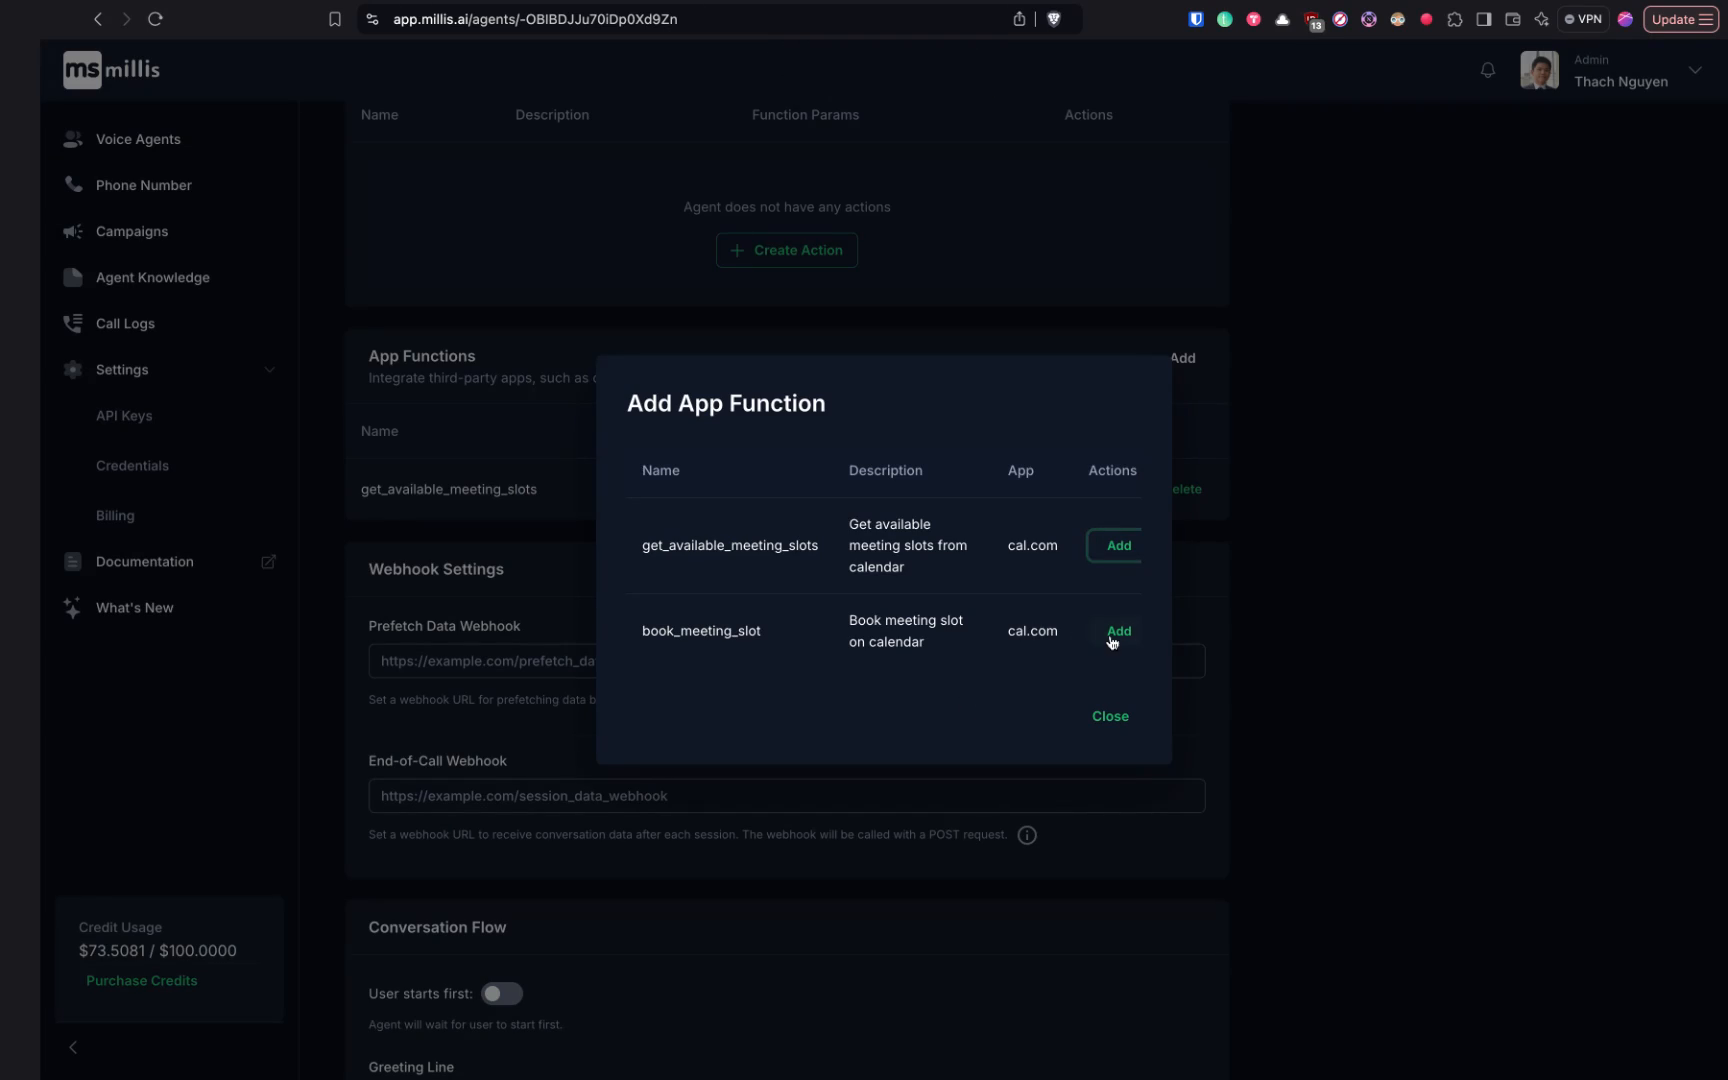
Step 16
Select the user contact method. If the agent will manage bookings over the phone, it’s advisable to choose the phone contact method.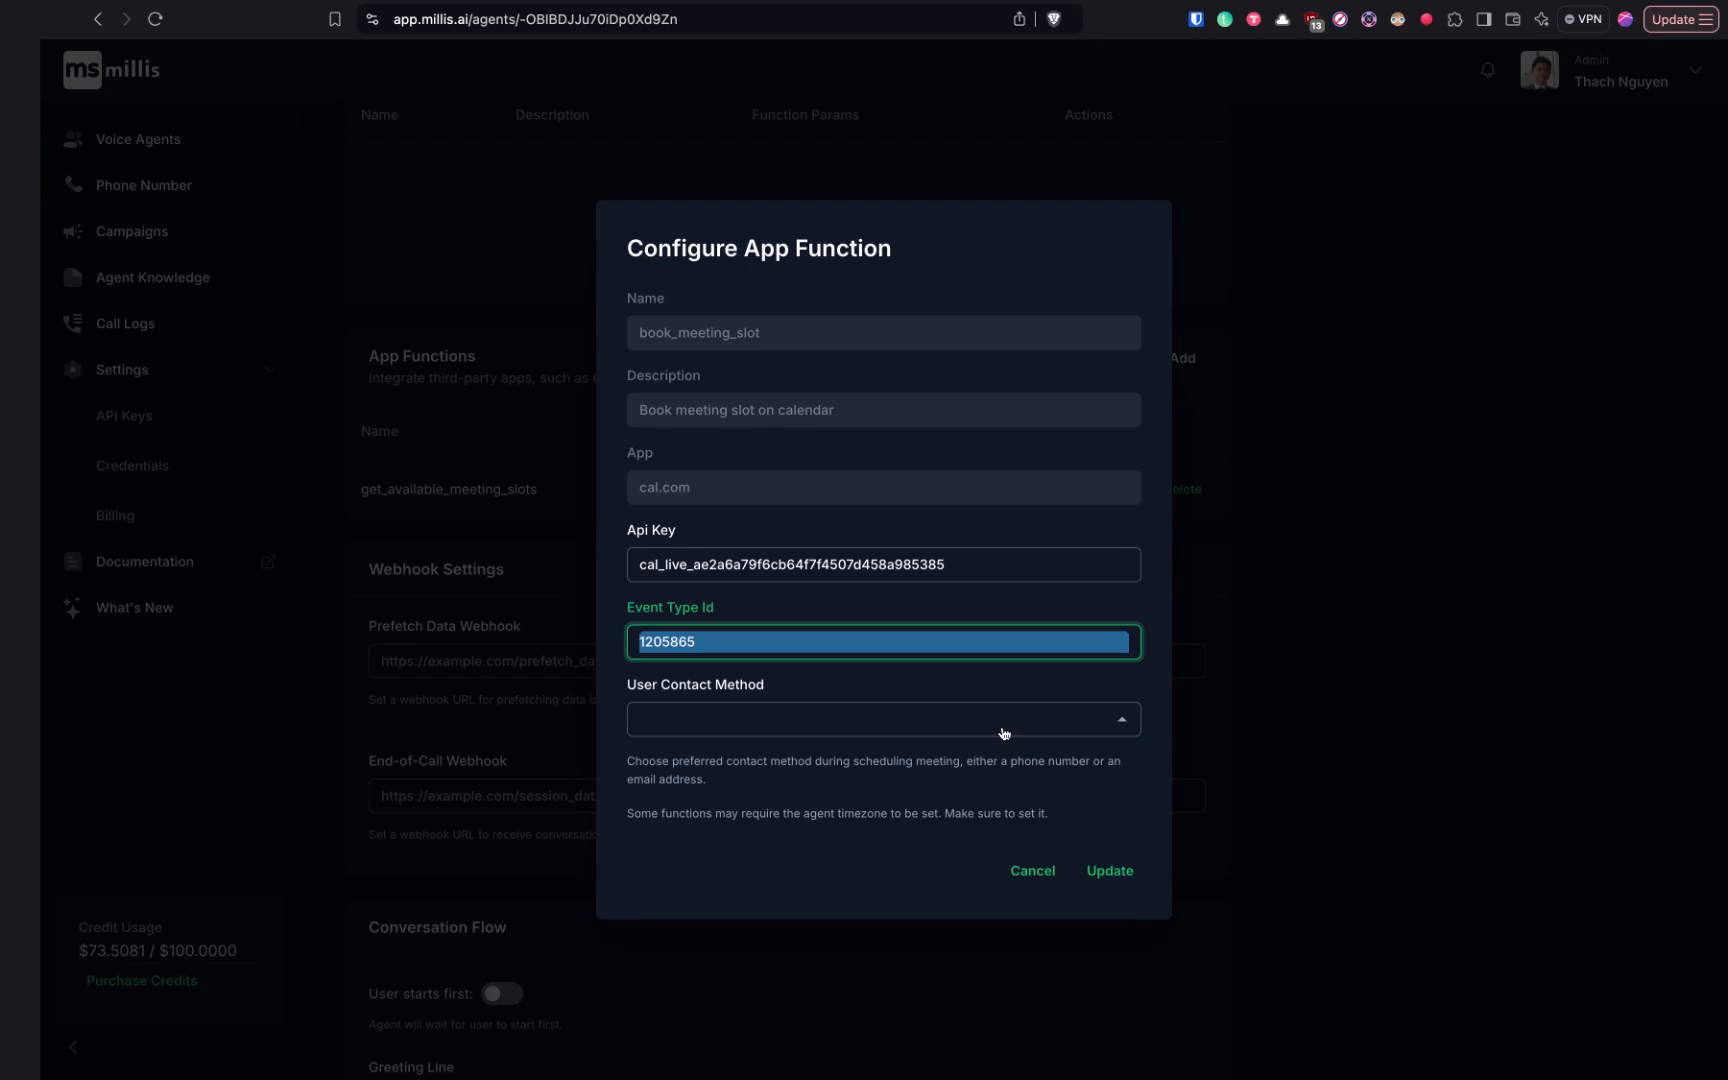
Step 17
Choose phone as the contact method if applicable.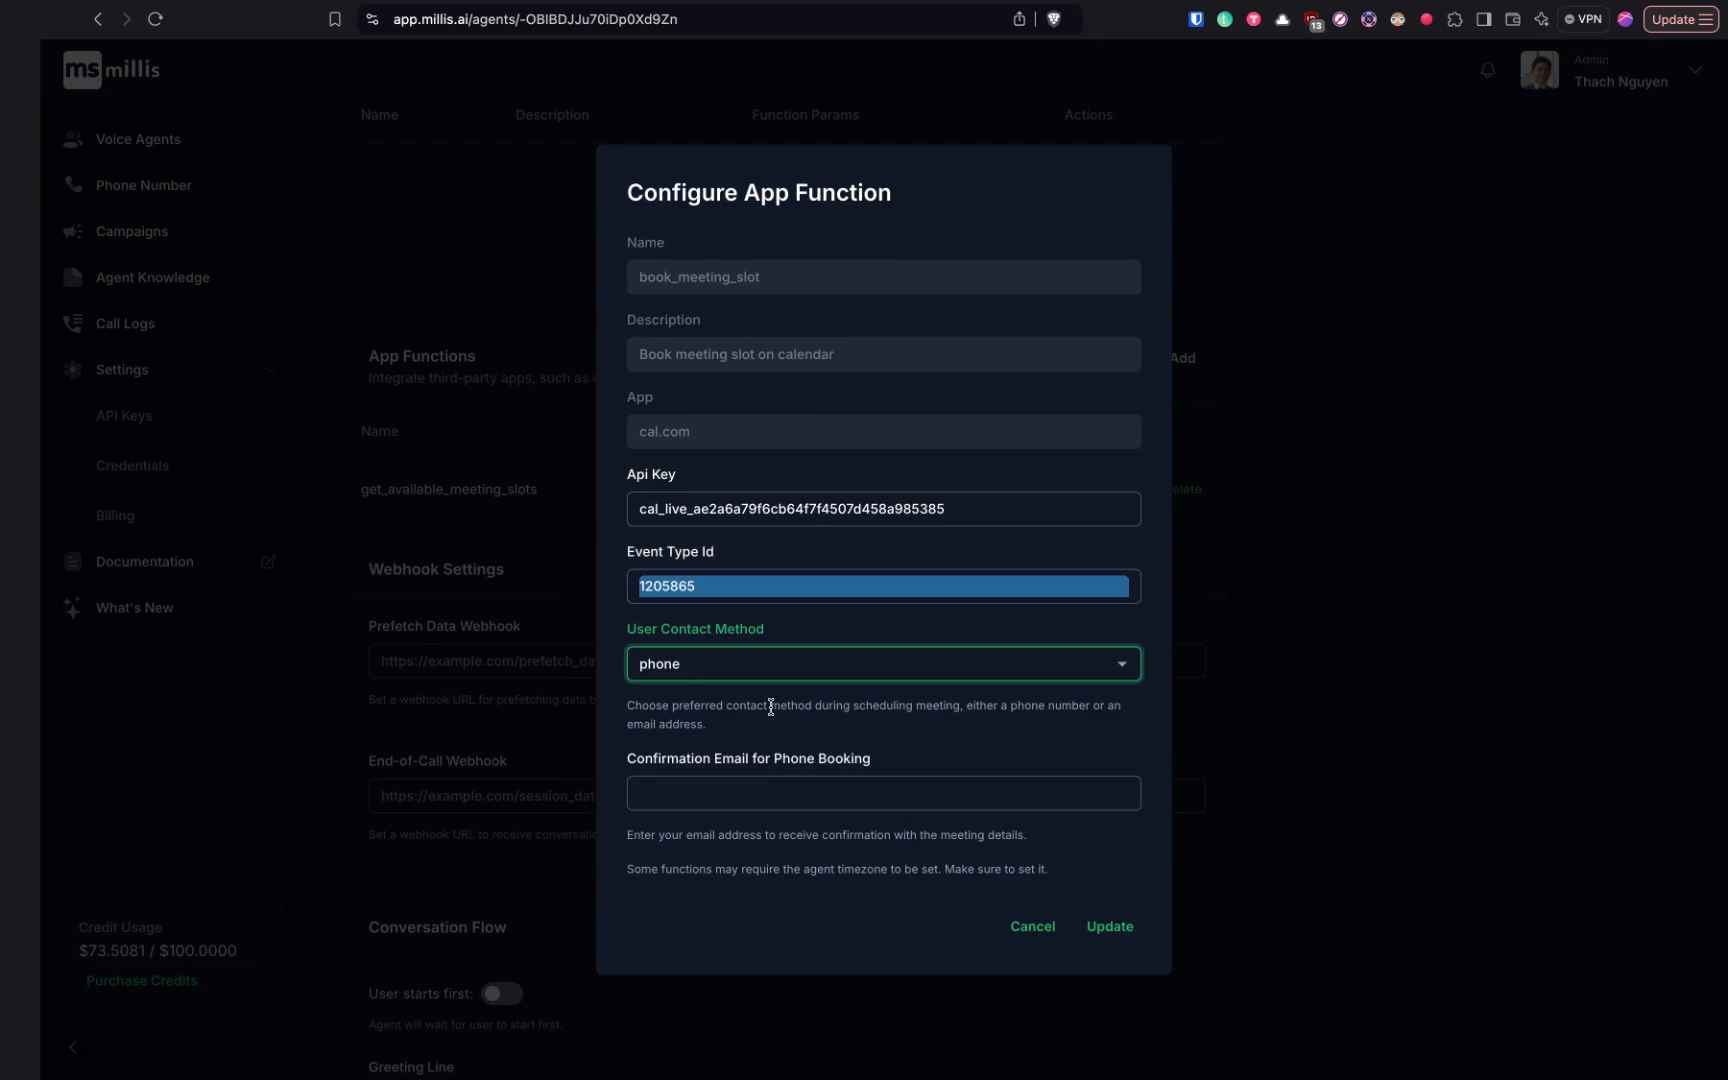
Step 18
By selecting this option, the user’s calling phone number will be captured and saved into the booking event. You will need to provide your own email for sending the booking confirmations.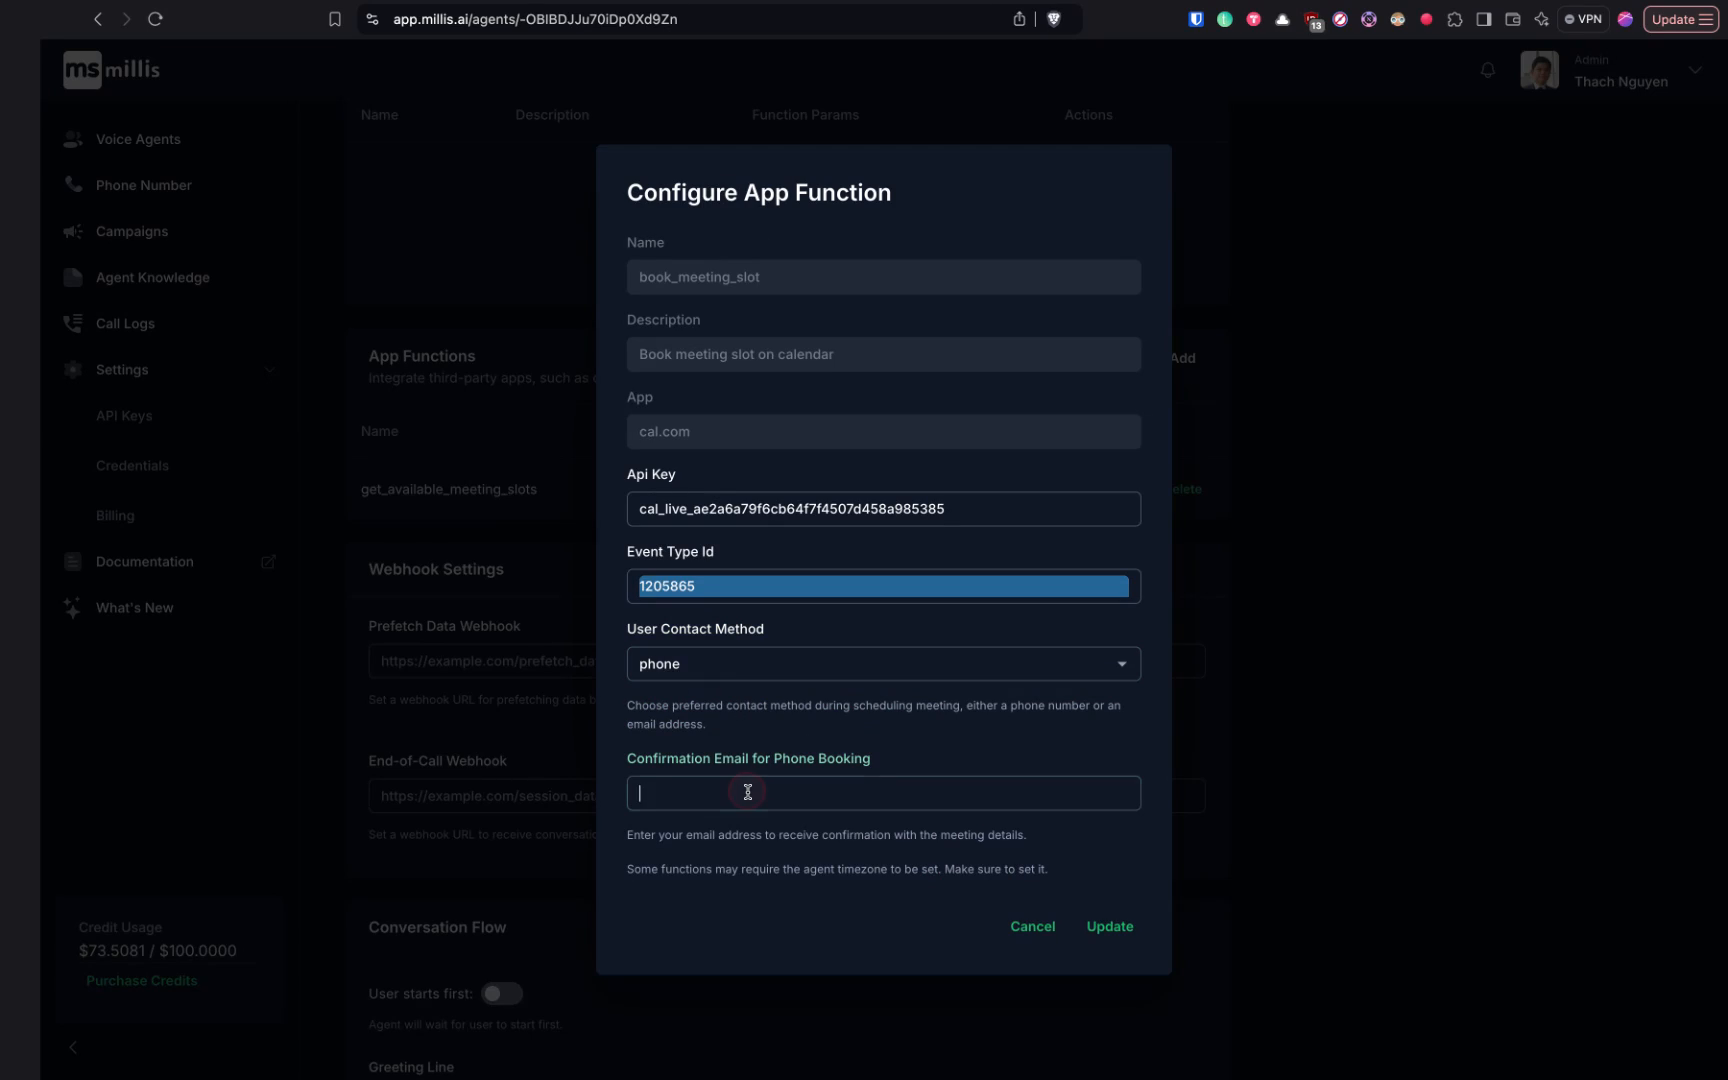
Step 19
This allows you to keep track of the bookings.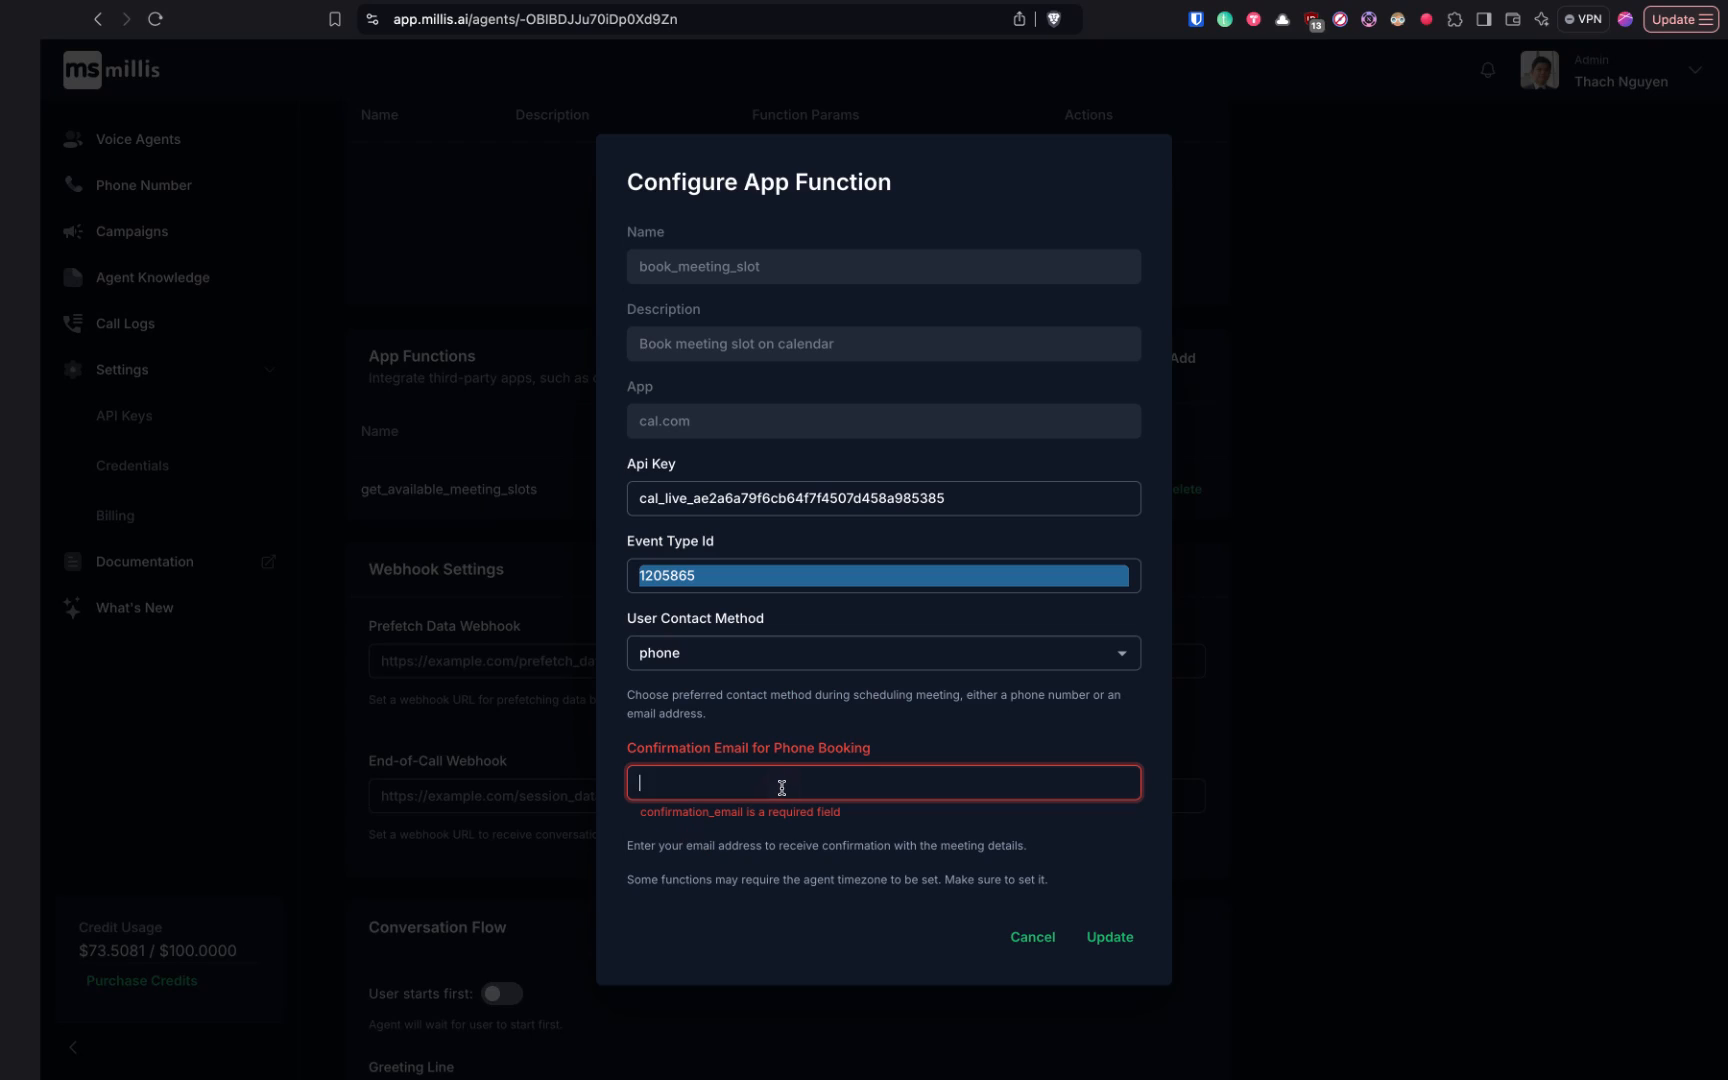
Step 20
Ensure you provide your email address for your records.
Step 21
Another option for contact is via email.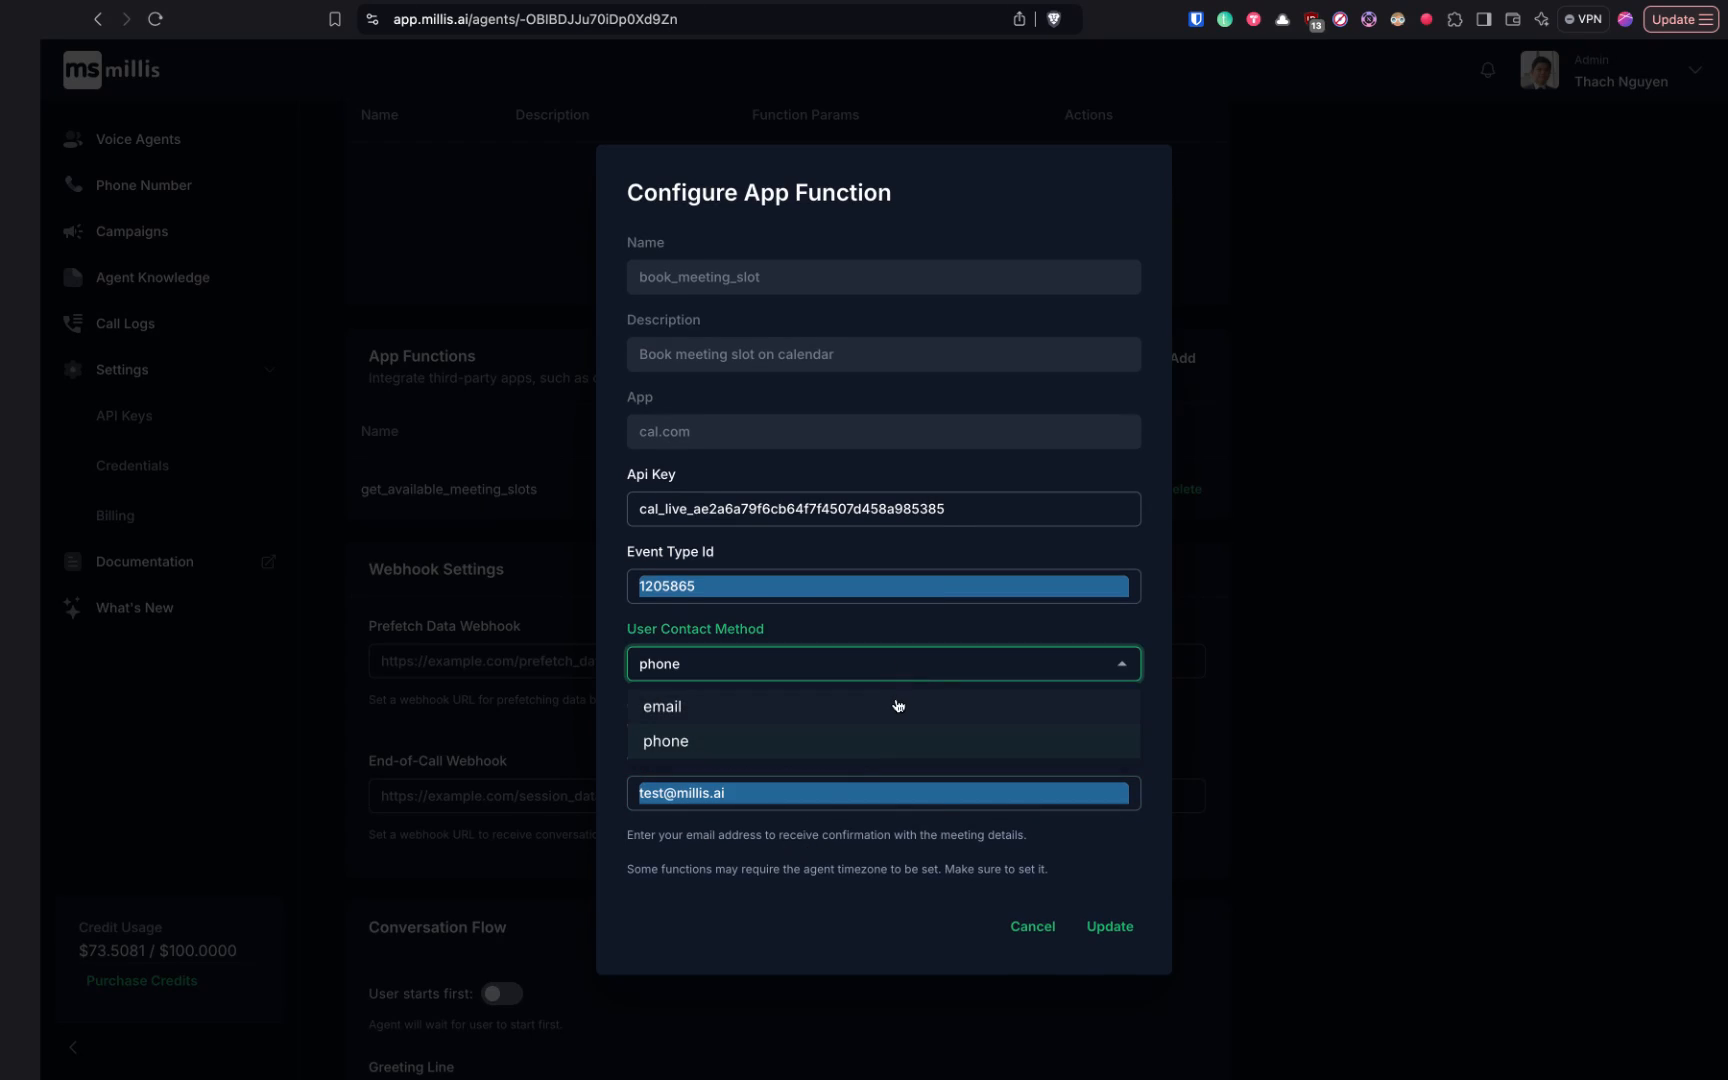
Step 22
For web agents or phone agents where you prefer the user to provide their email for booking confirmations, select the email option. During the conversation, the agent will prompt the user for their email.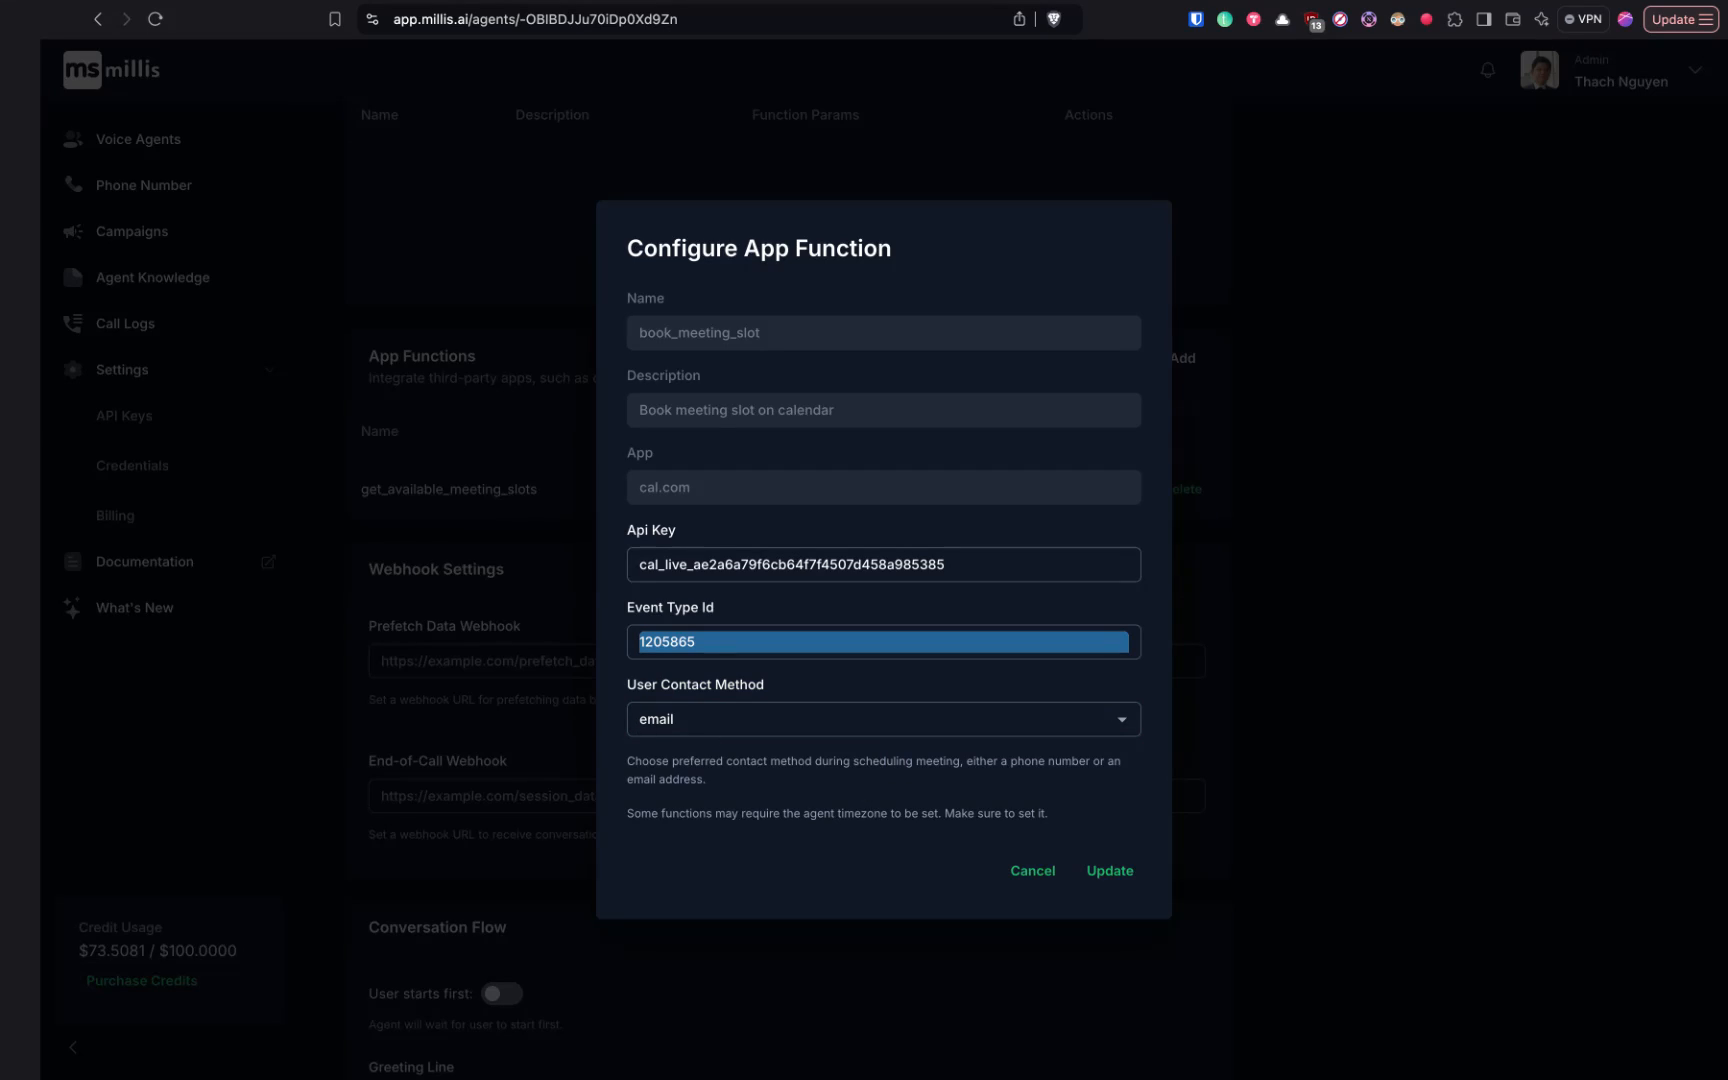
Step 23
Once the user provides their email, both you and the user will receive the booking confirmation.