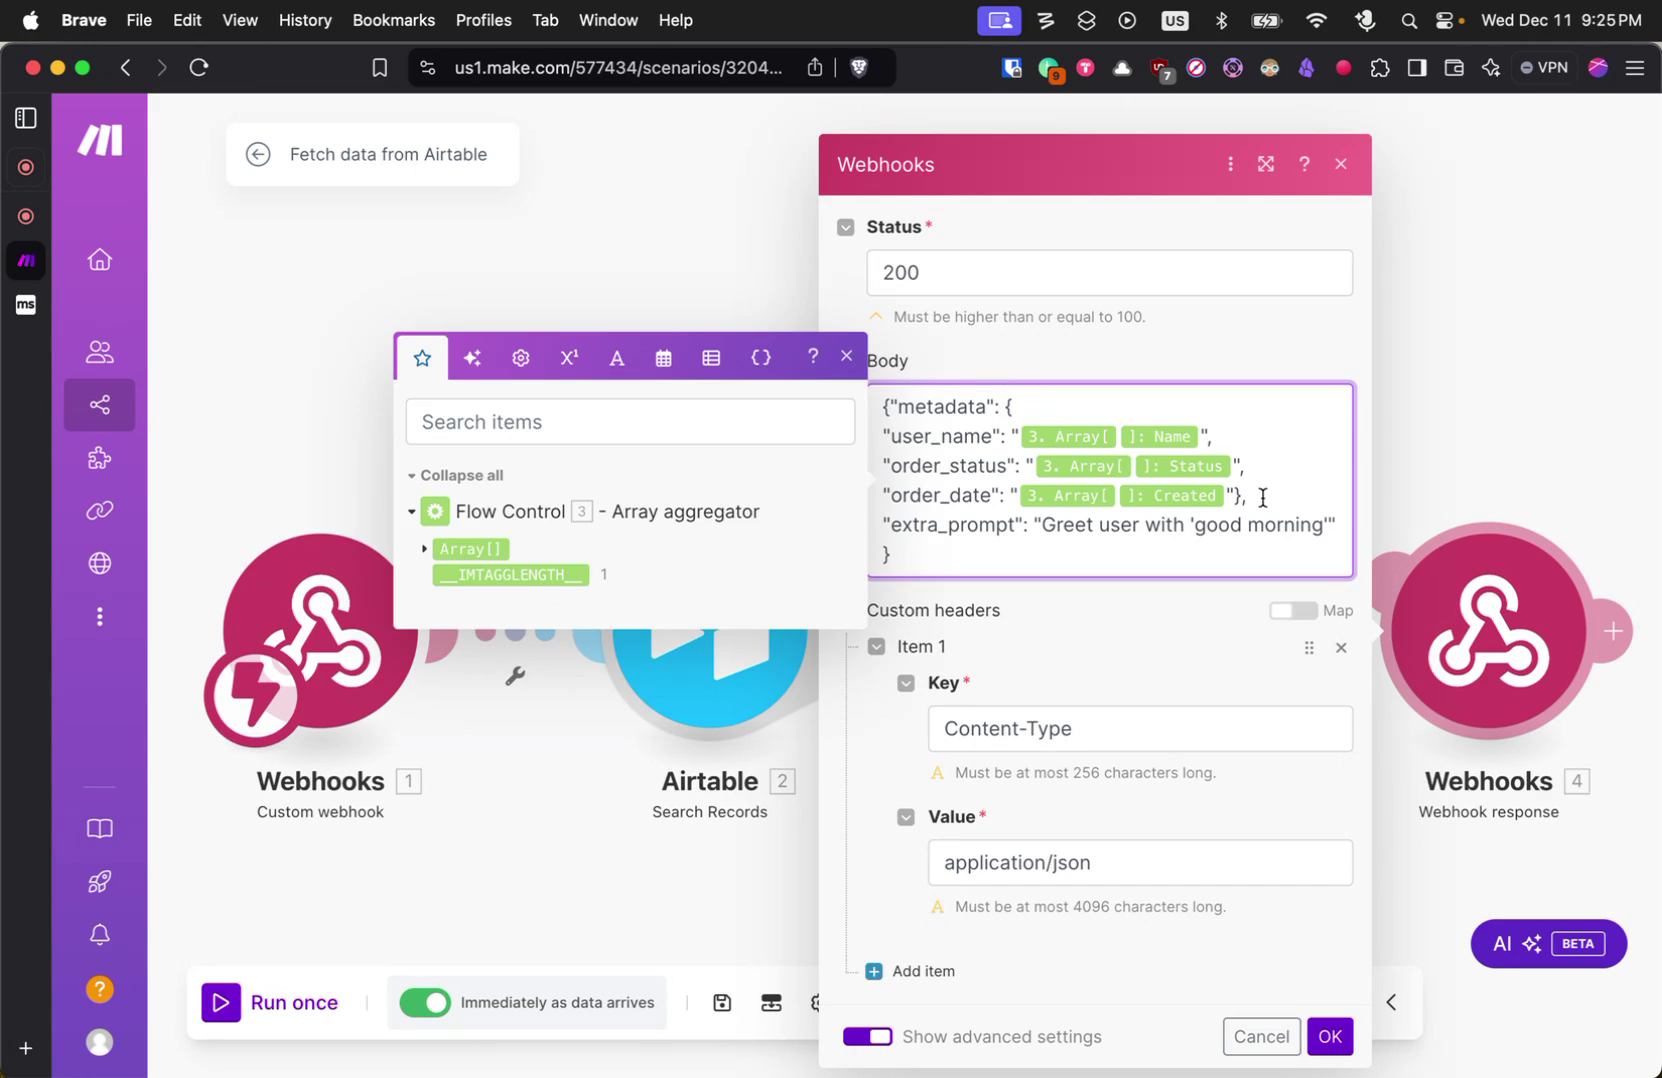
In this process, you will learn how to personalize a call between an agent and a user by using dynamic variables and metadata. This will enable the agent to greet the user with personalized information, such as their username, enhancing the user’s experience.
Step 1
In this guide, you will learn to personalize a call using dynamic variables and metadata. For instance, when an agent joins a call with a user, they can greet the user with personalized information like their username.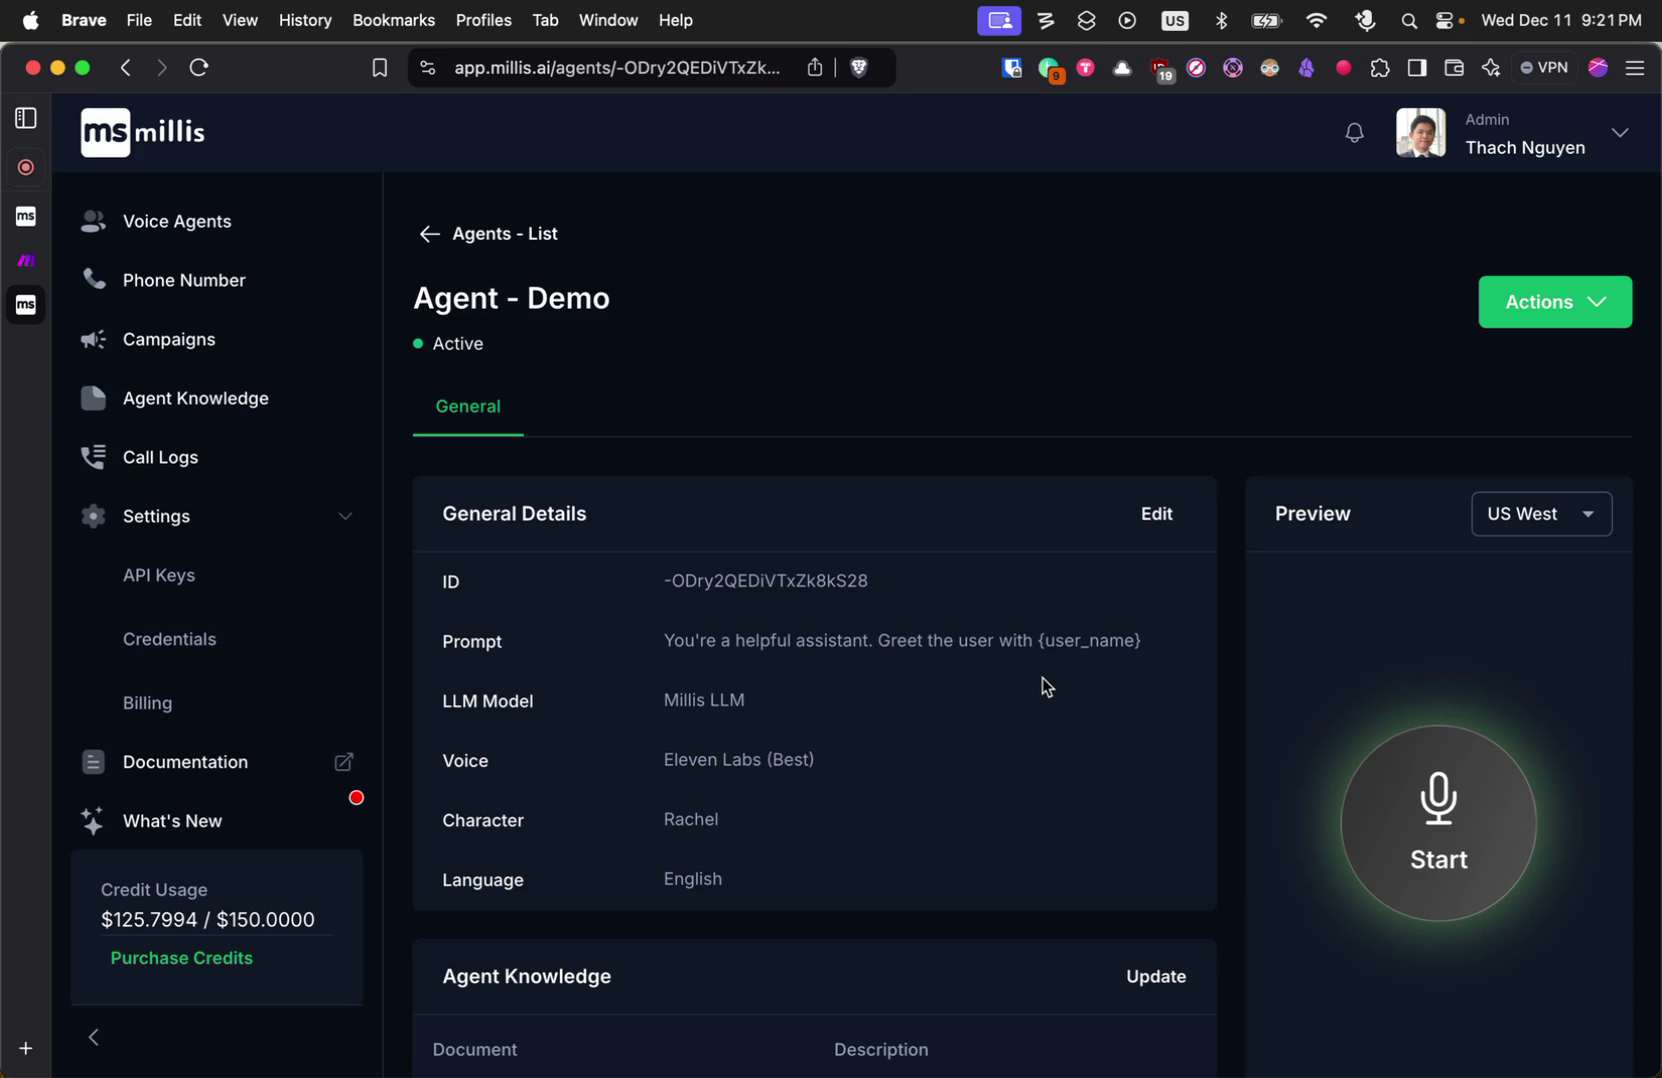
Step 2
Millis AI introduces the concept of metadata, which refers to any data that you want to attach to a call session.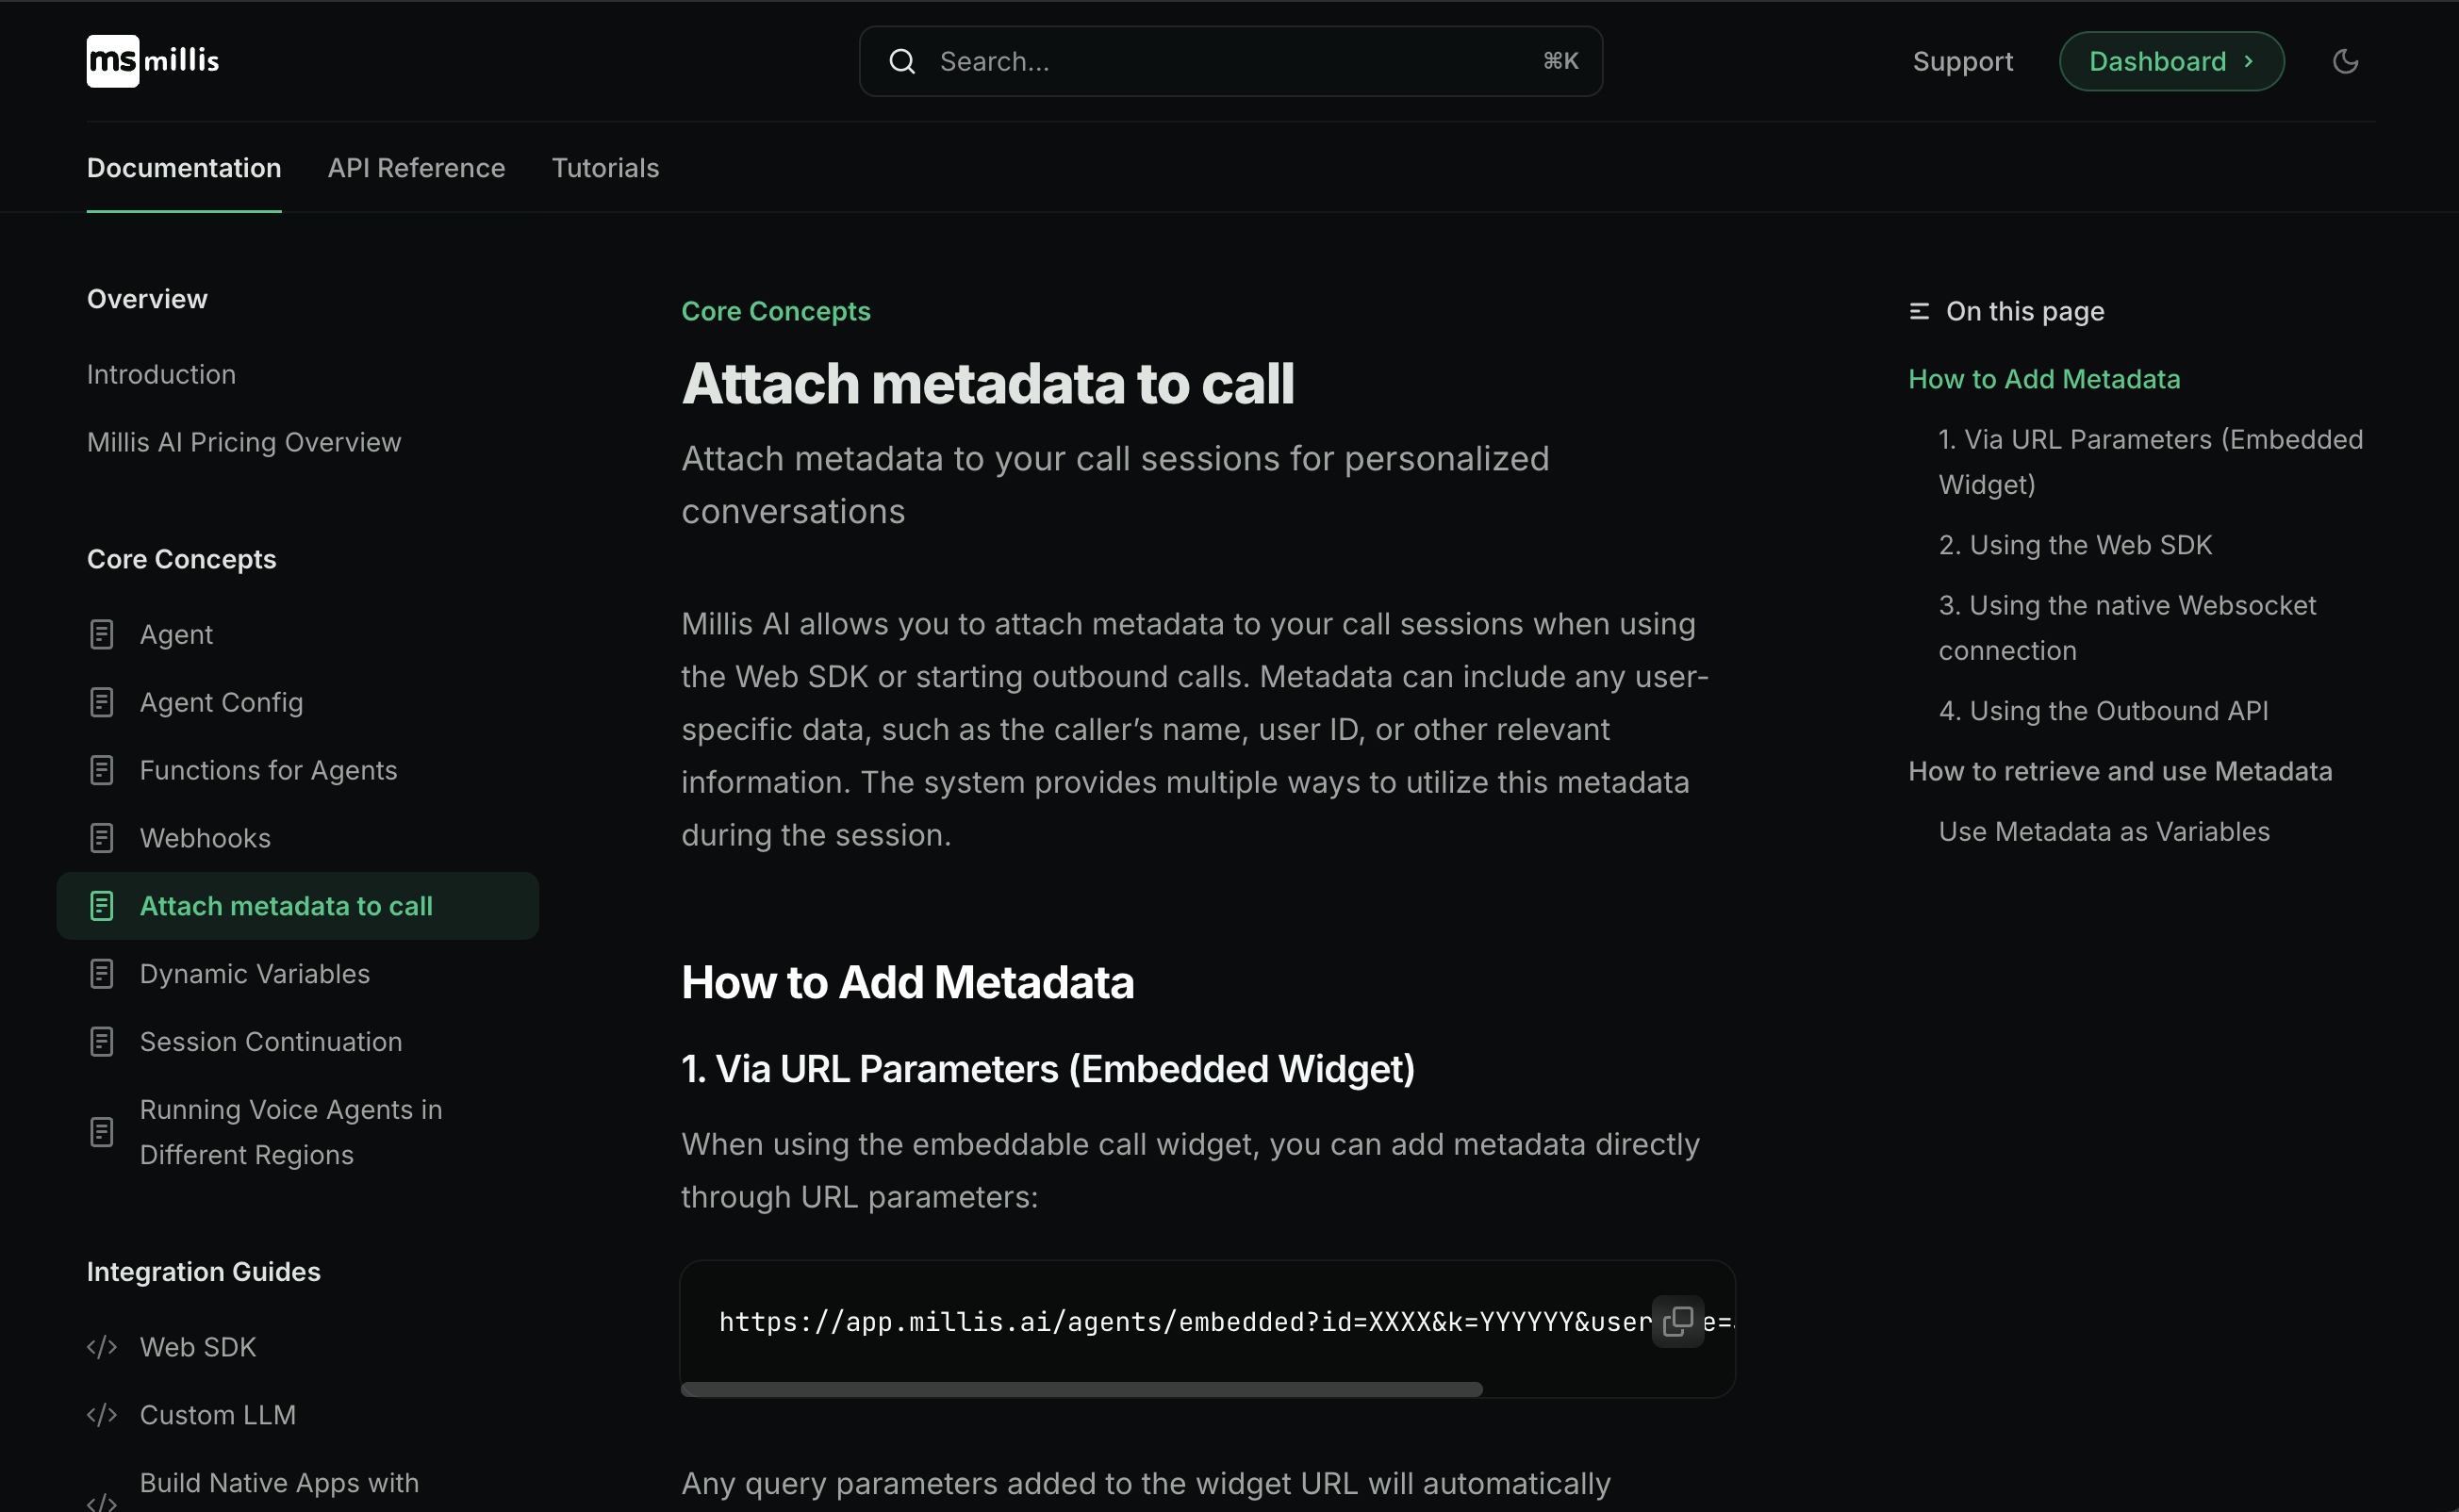
Step 3
This metadata can include various pieces of information, such as username, caller name, user ID, and more.Step 4
These metadata elements enable the agent to manage the call effectively and in a personalized manner.Step 5
When you add metadata to a call, each element can be used as a variable throughout the call process.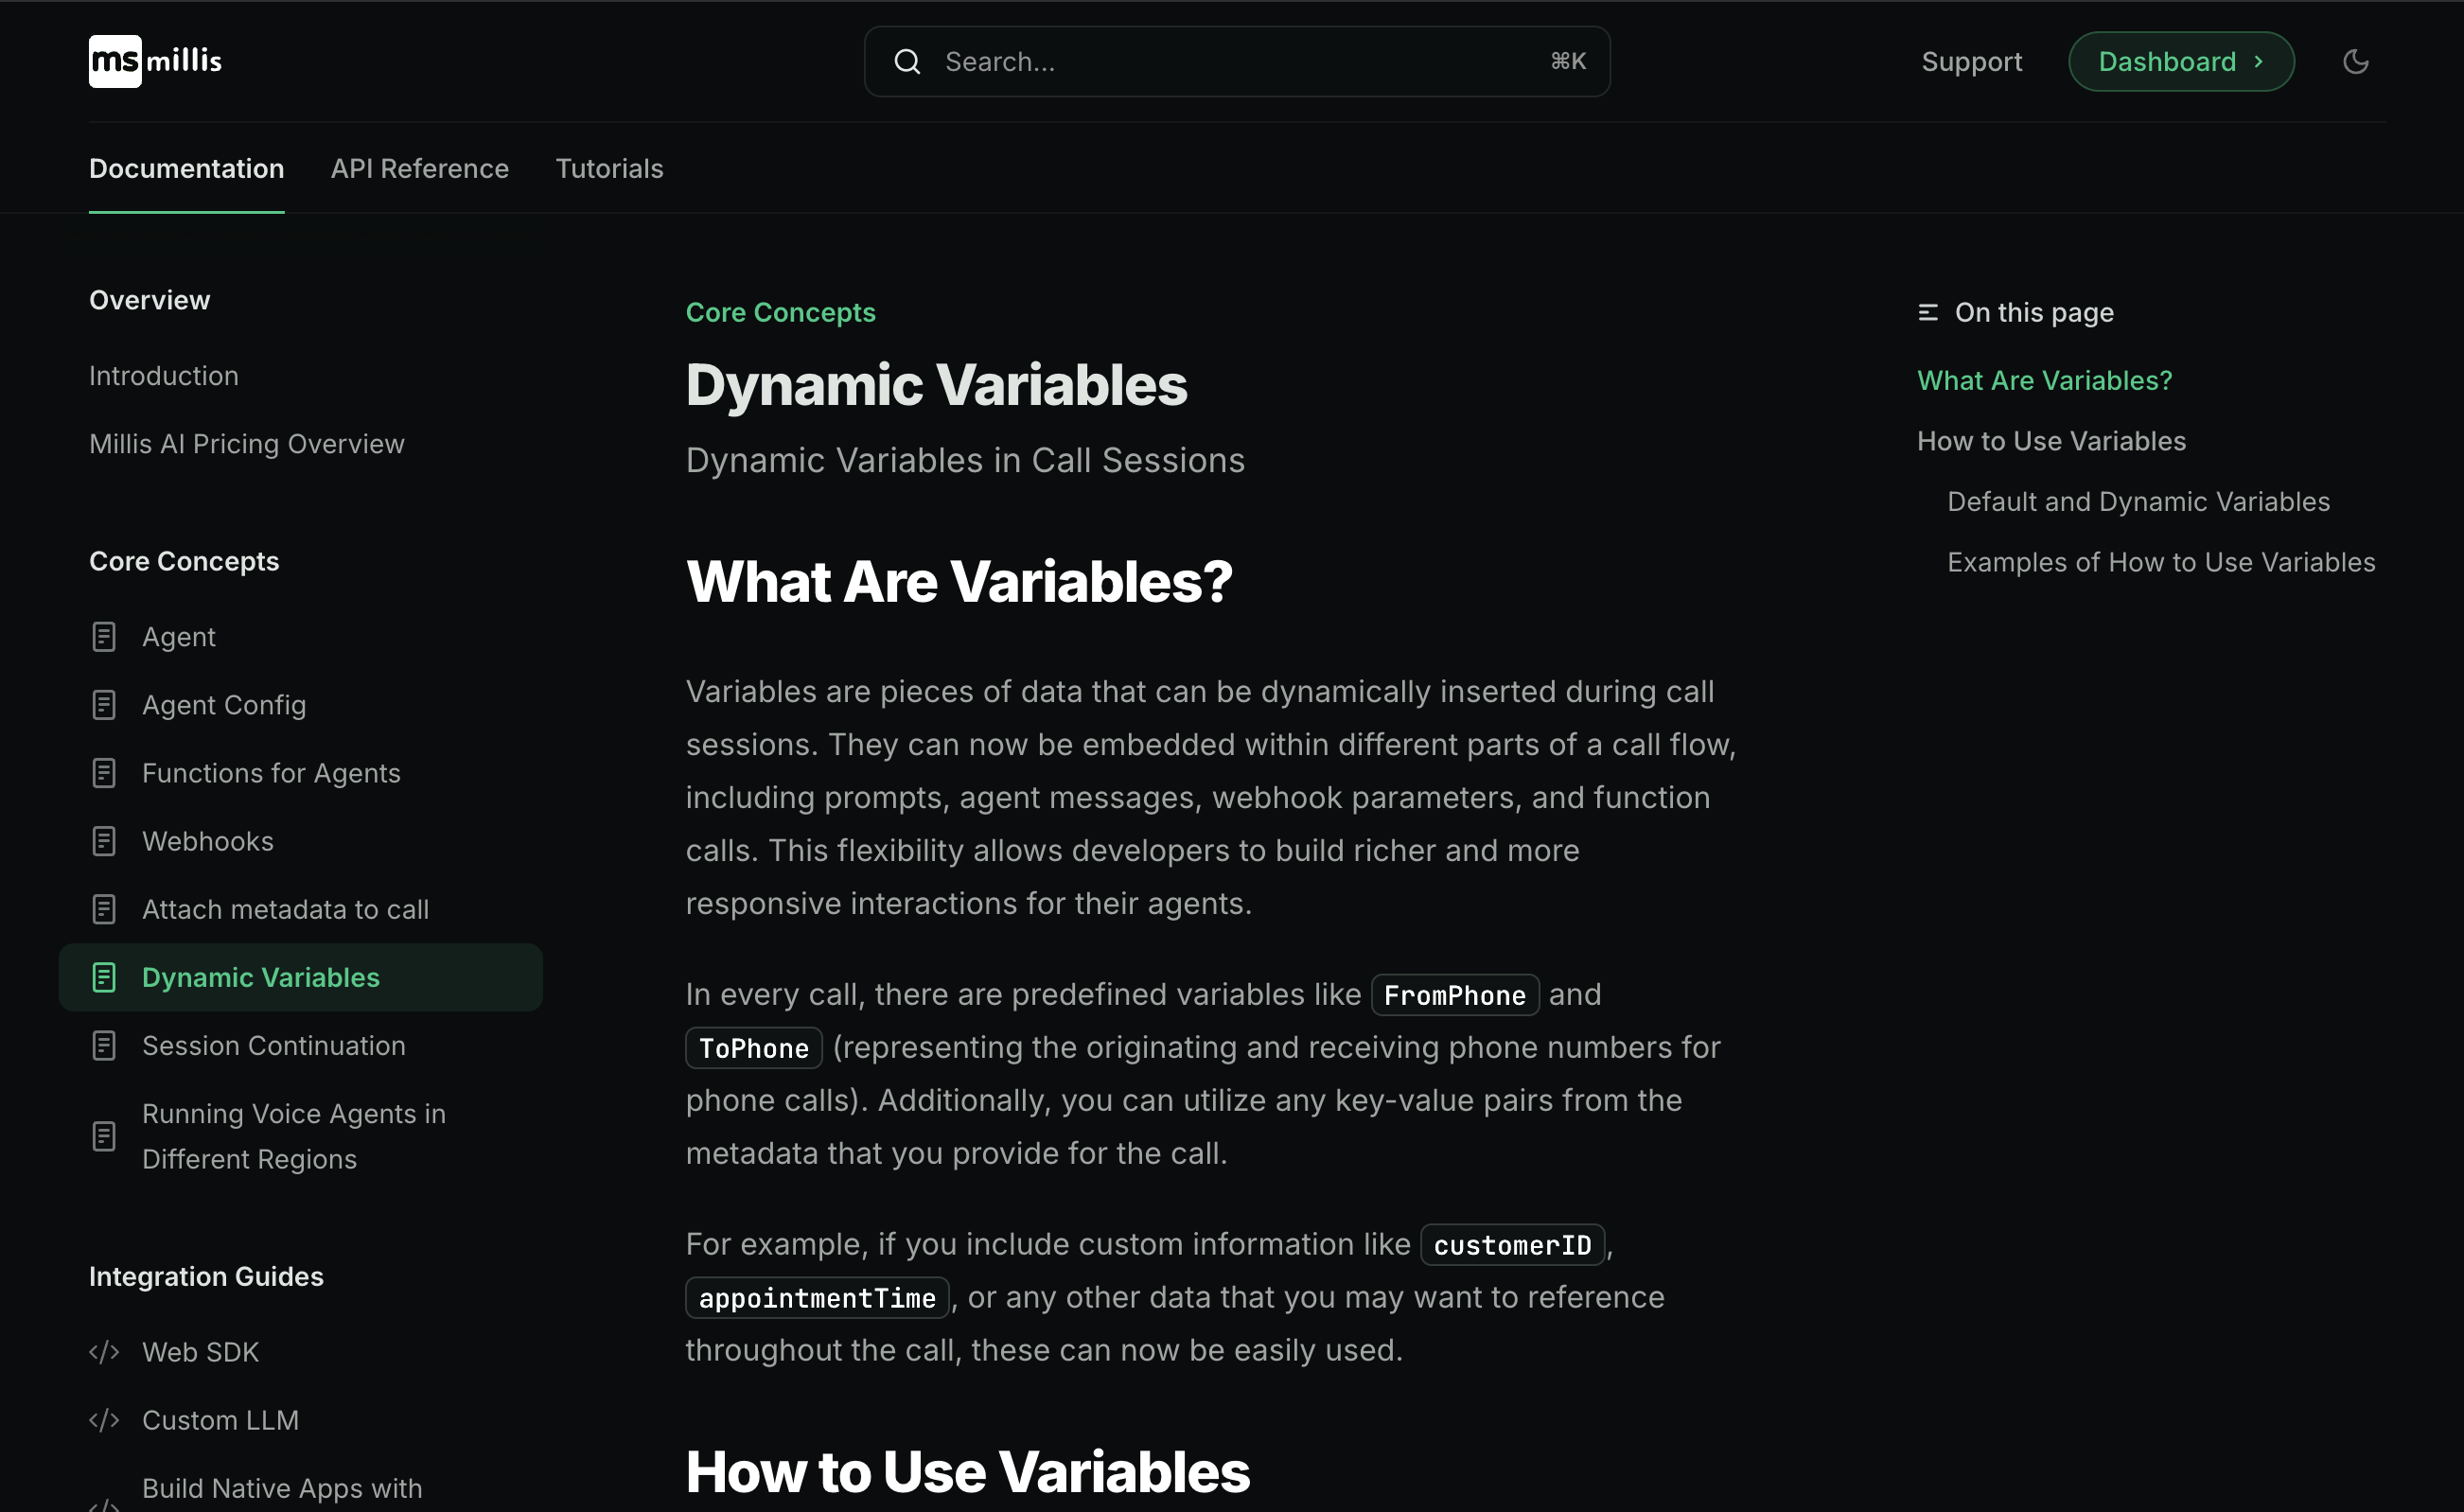
Step 6
These variables can be utilized in various parts of the call flow, including prompts, agent messages, and webhook parameters. For instance, if you provide a username in the metadata, it becomes available as a variable within curly brackets.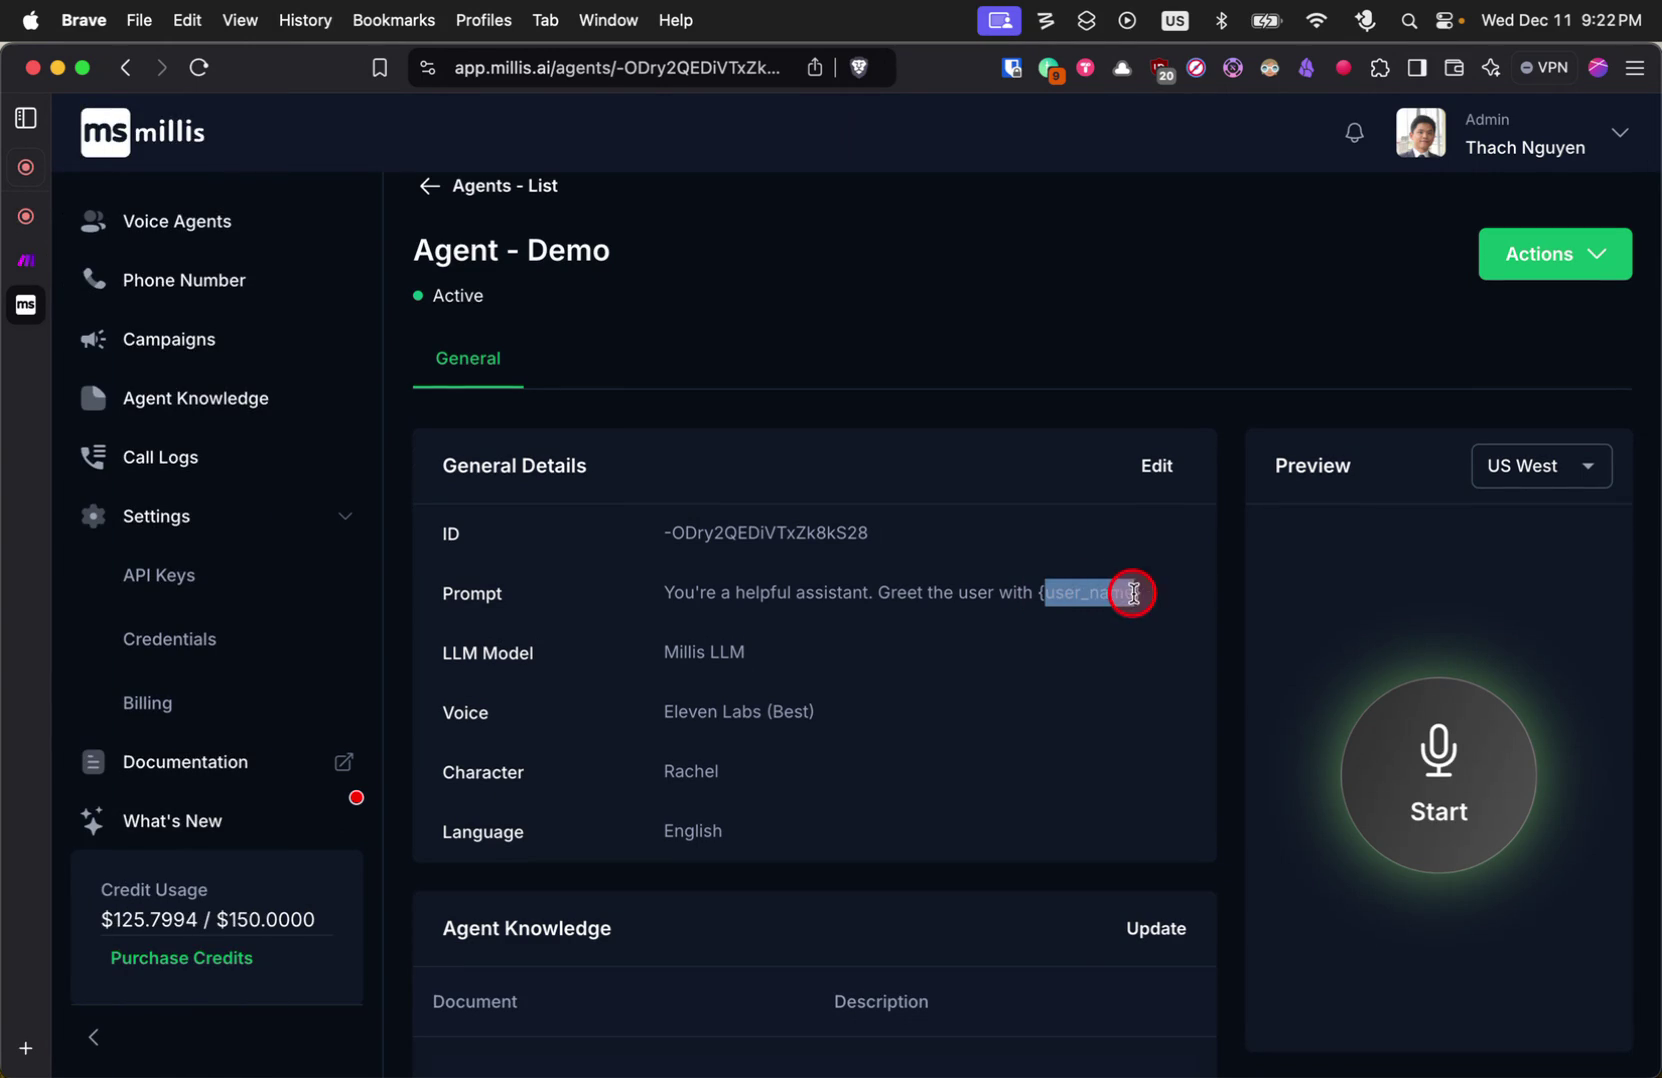
Step 7
This variable can be used in prompts, greeting lines, voicemail messages, and more.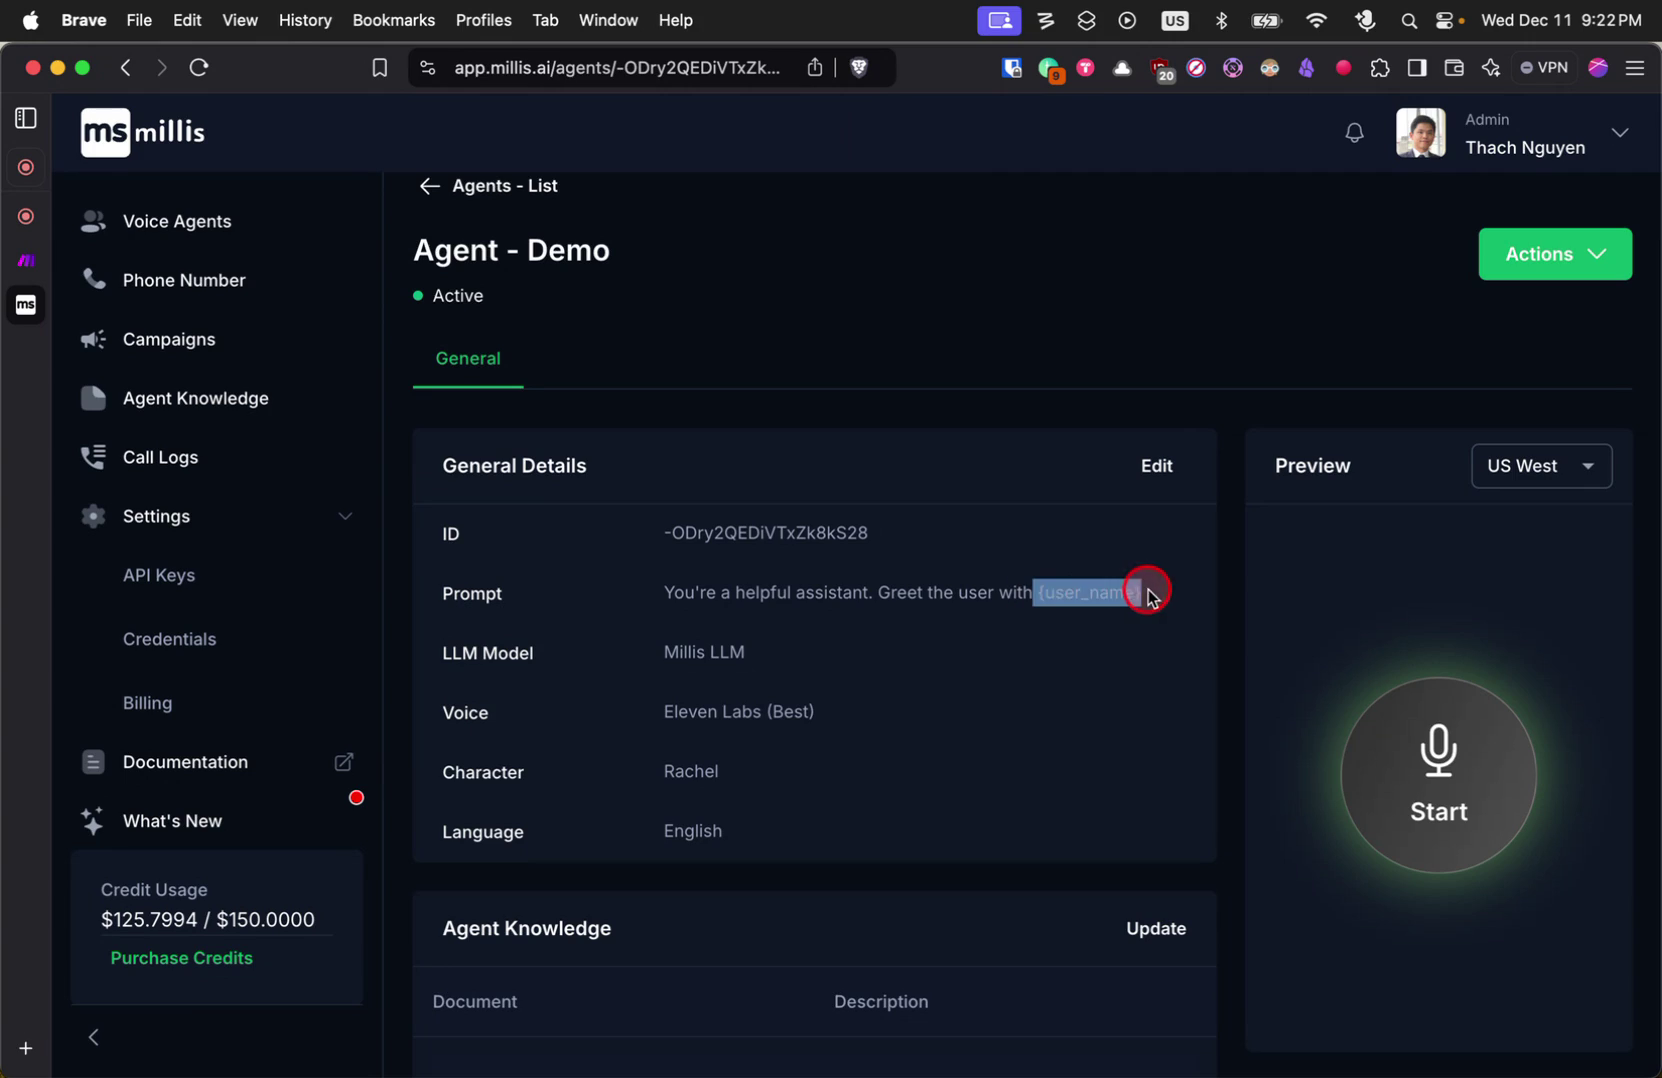
Step 8
You can incorporate it into different types of messages, enhancing personalization.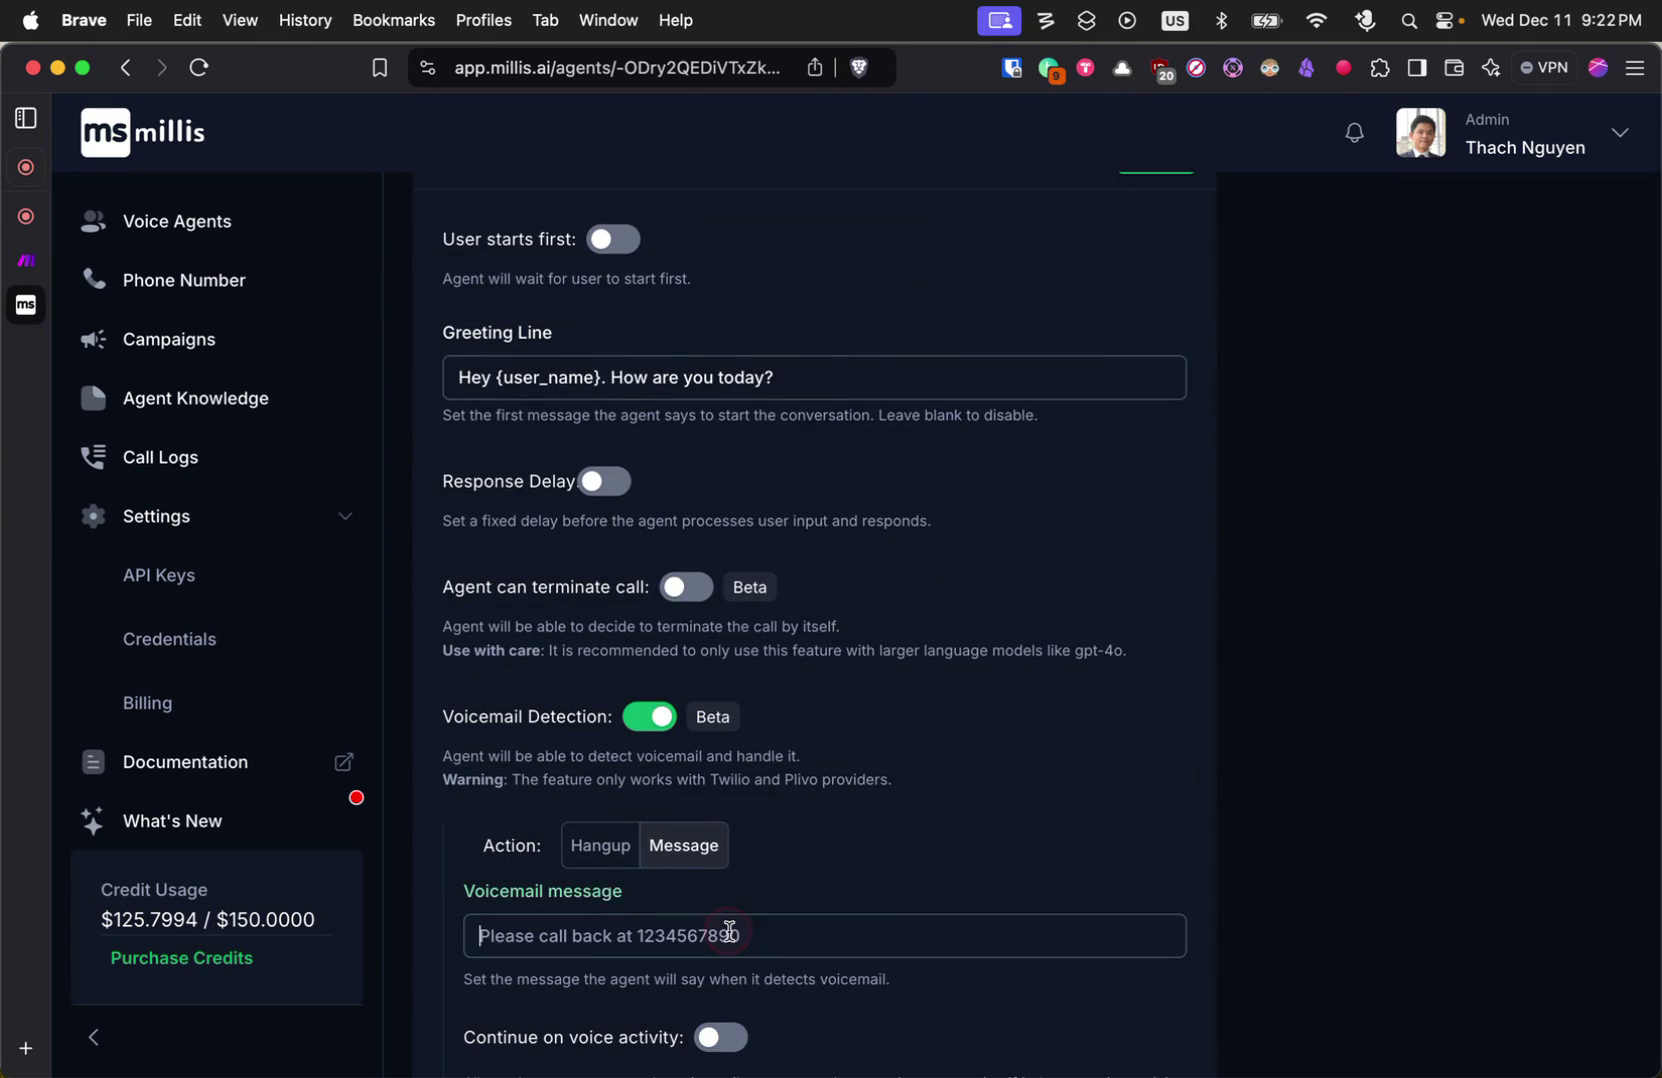
Step 9
These variables ensure that the agent conveys the exact information provided.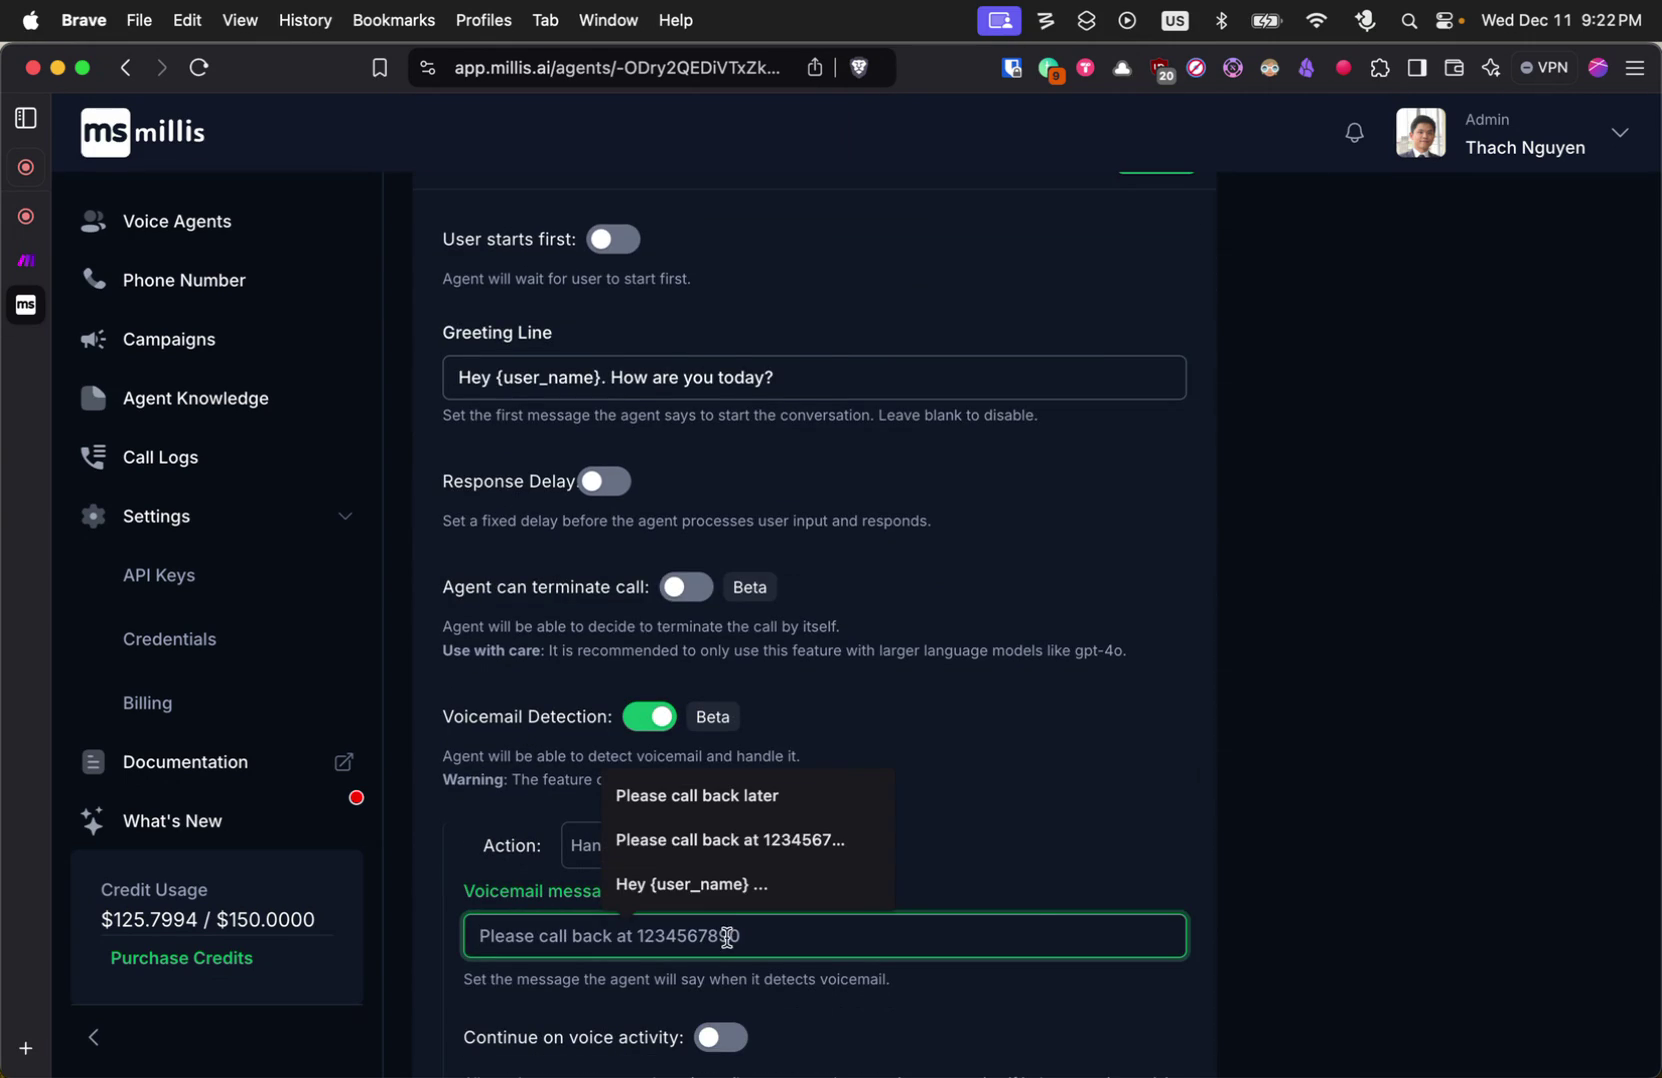
Step 10
We ensure that these variables are replaced with the provided data, allowing the agent to say precisely what is intended. Now, let’s explore how to add metadata to your call.Step 11
If you’re using our web SDK, you can pass metadata in a specific format. When you call the start function, metadata can be added as a key-value pair. You can also enable the option to include metadata in the prompt.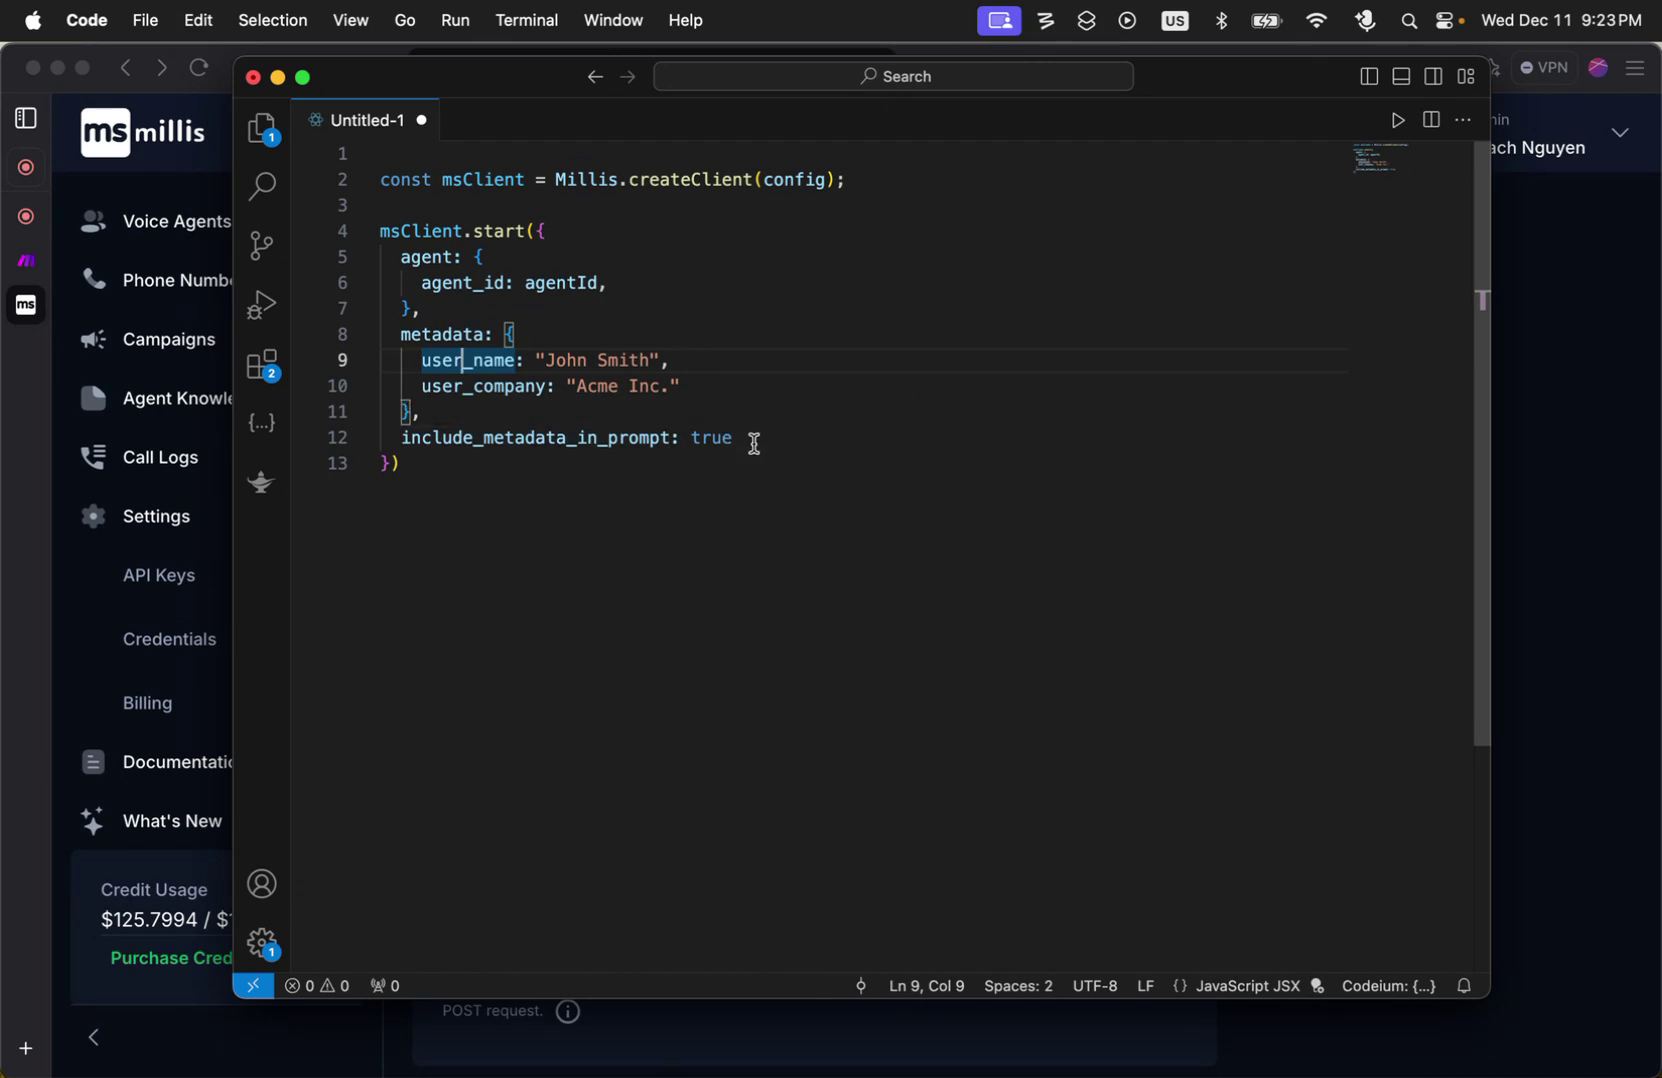
Step 12
When this option is set to true, all provided metadata becomes part of the agent’s memory or prompt, ensuring the agent uses this information during the call as session context. This is applicable for both outbound and inbound calls.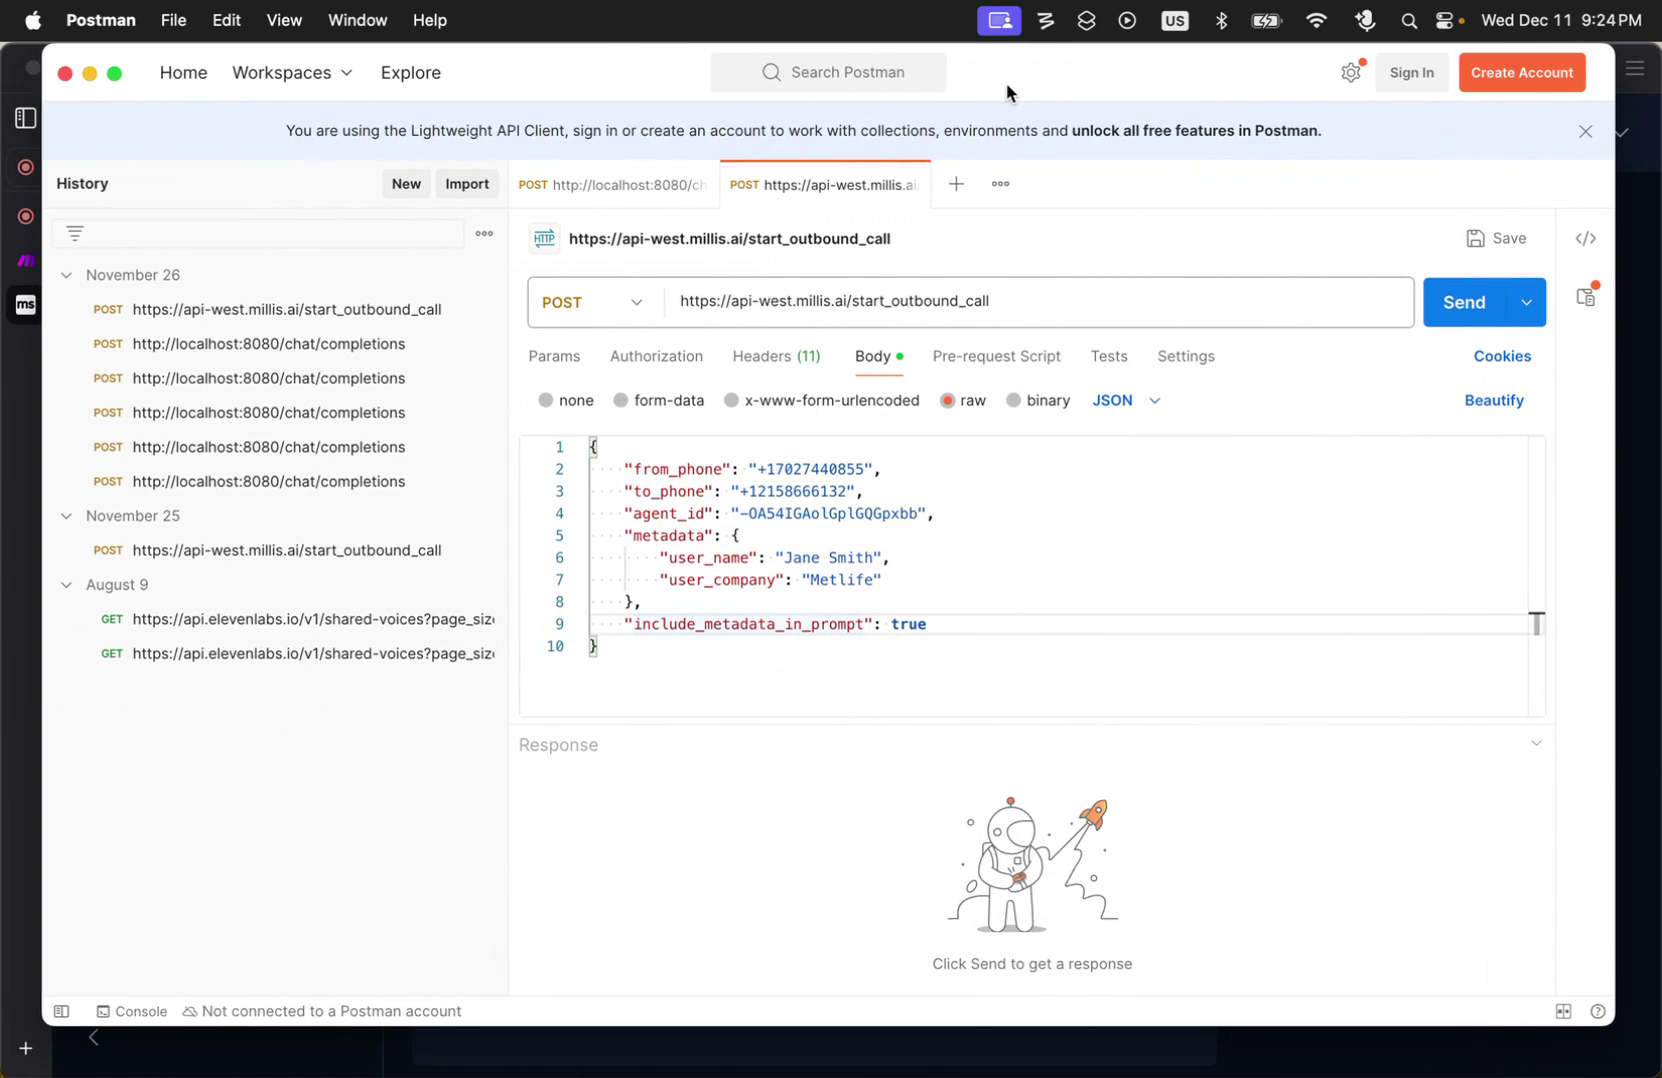
Step 13
To initiate an outbound call, use our API and include metadata in the request body. This metadata will be associated with the session. Similarly, for inbound calls, you can include metadata as well.Step 14
When someone calls the agent’s phone number, you can capture this event using the prefetch data webhook. The webhook provides information, such as the caller’s phone number, at the start of the call, allowing you to return metadata as part of the webhook response.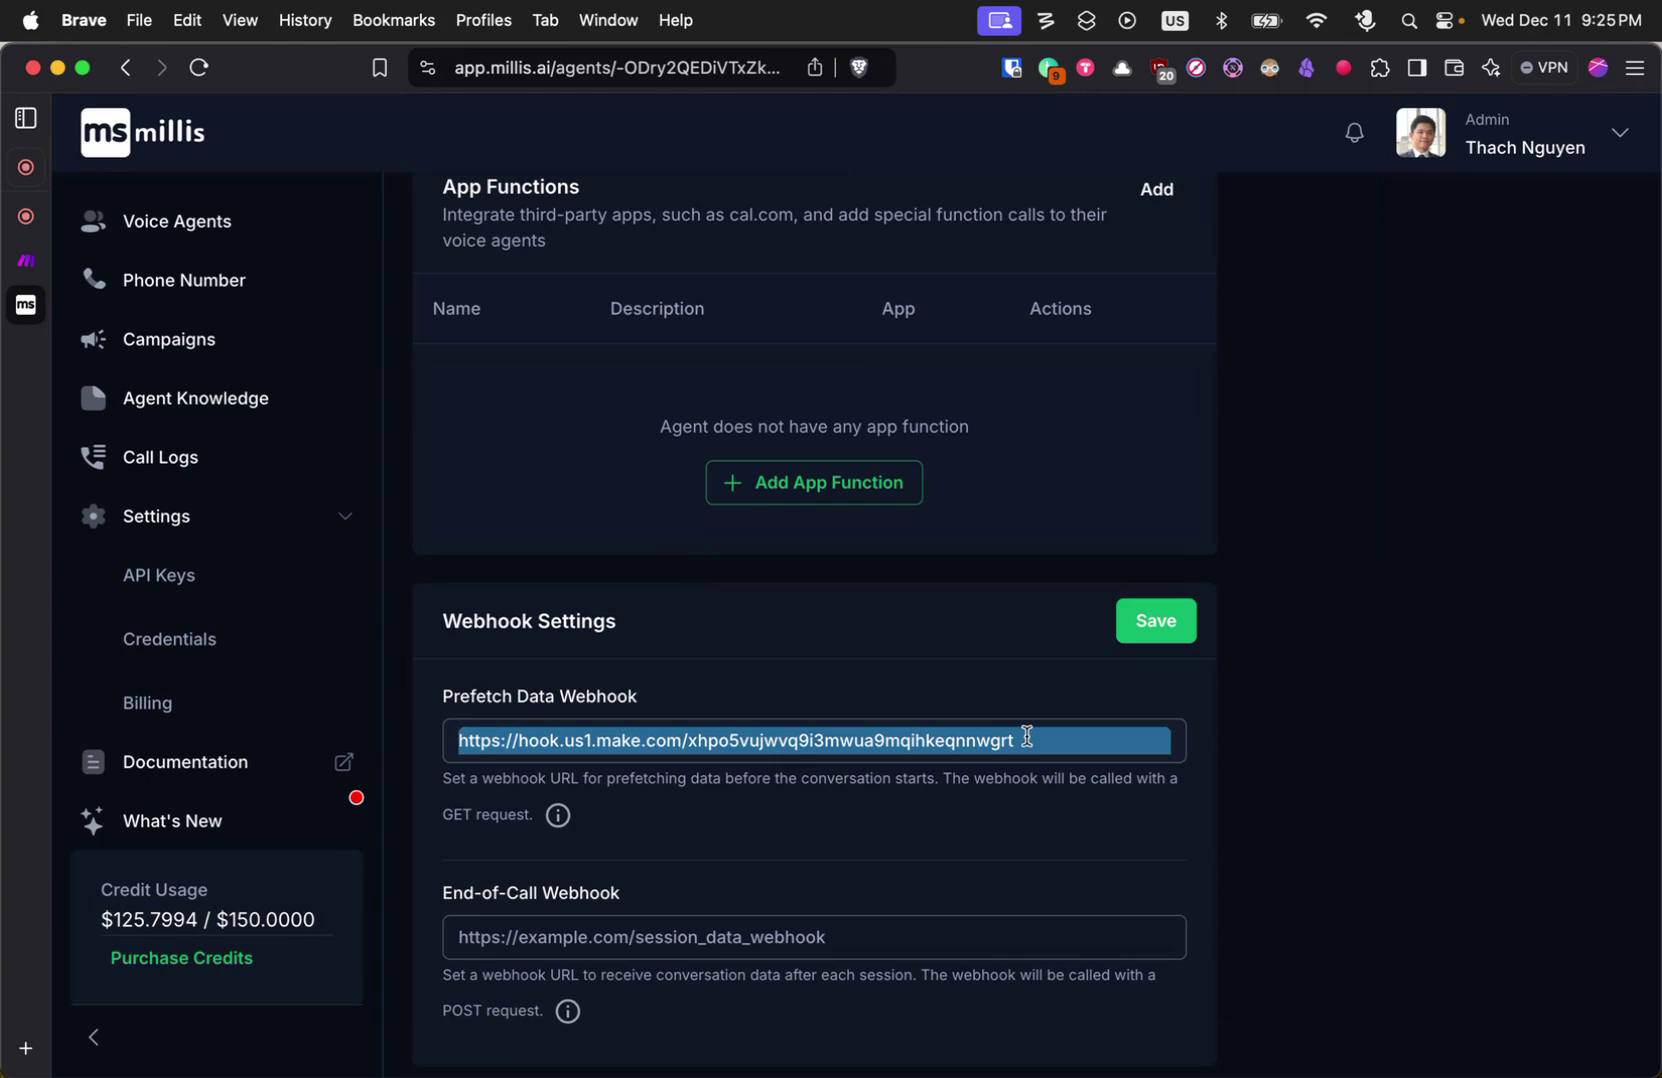
Step 15
This response becomes the metadata for the session.Step 16
As an example, I’m demonstrating how to achieve this using make.com. Here is a scenario where a webhook is created.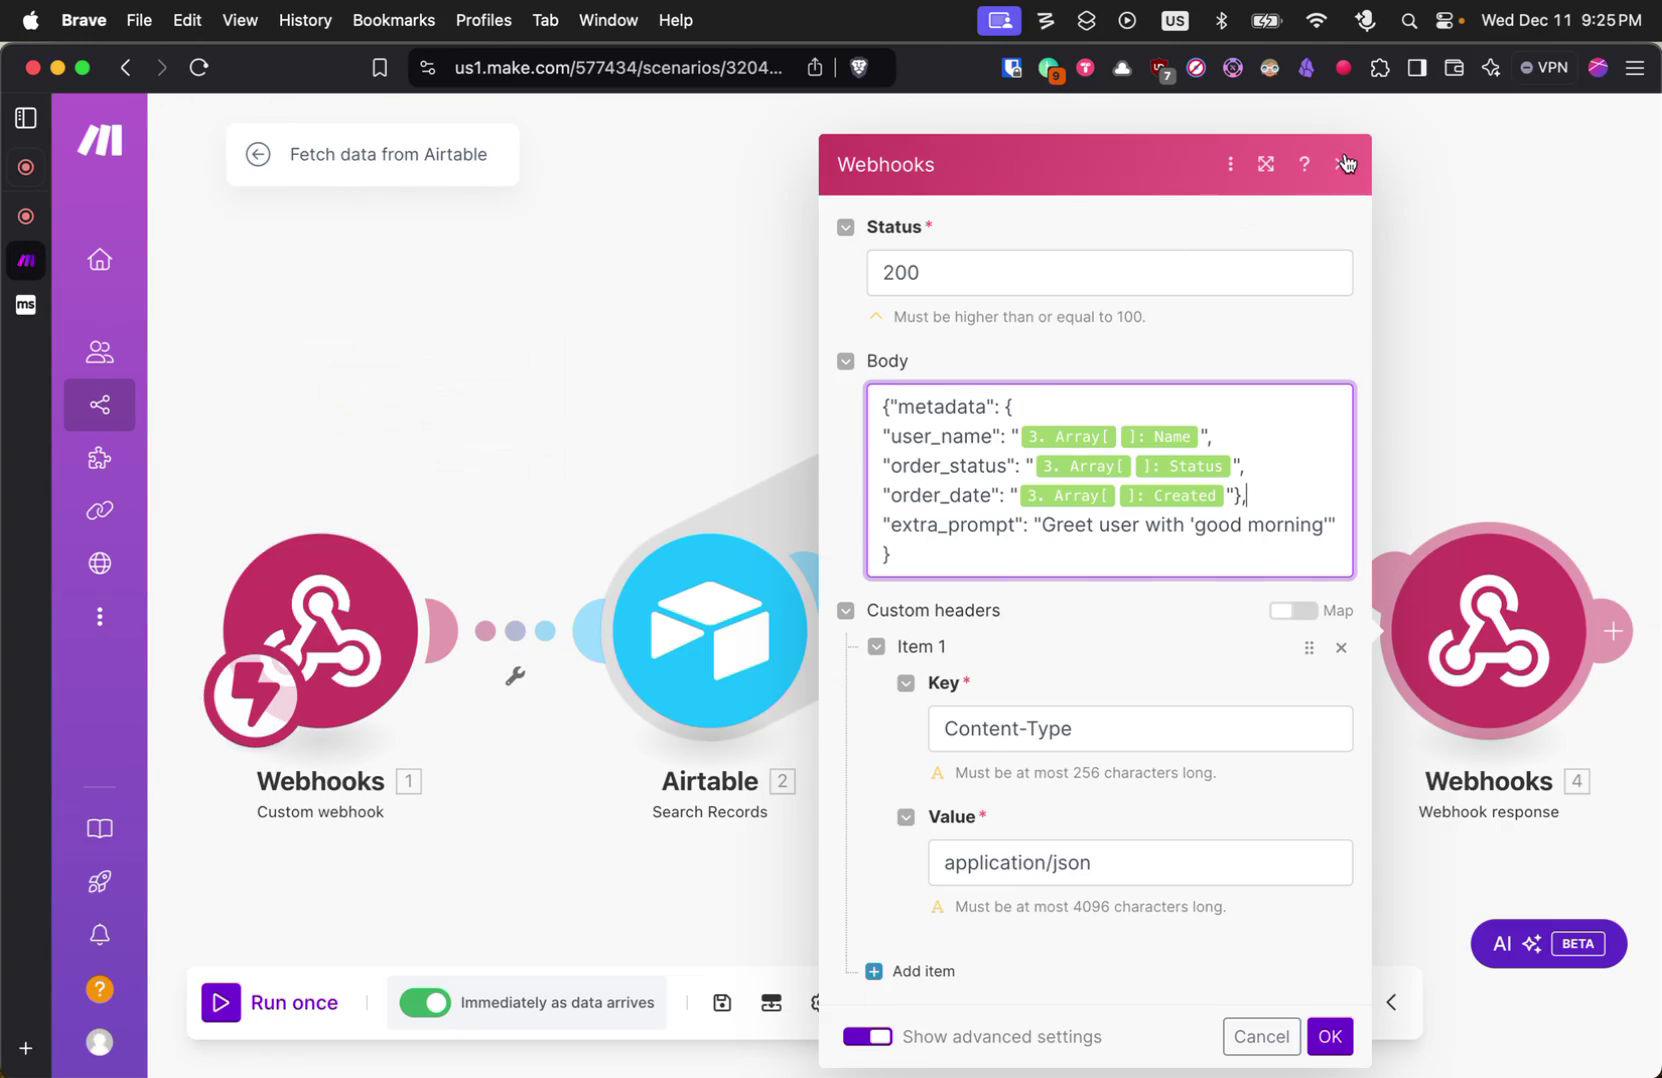
Step 17
The webhook queries data from an AirTable to fetch user data and returns it as part of the webhook response.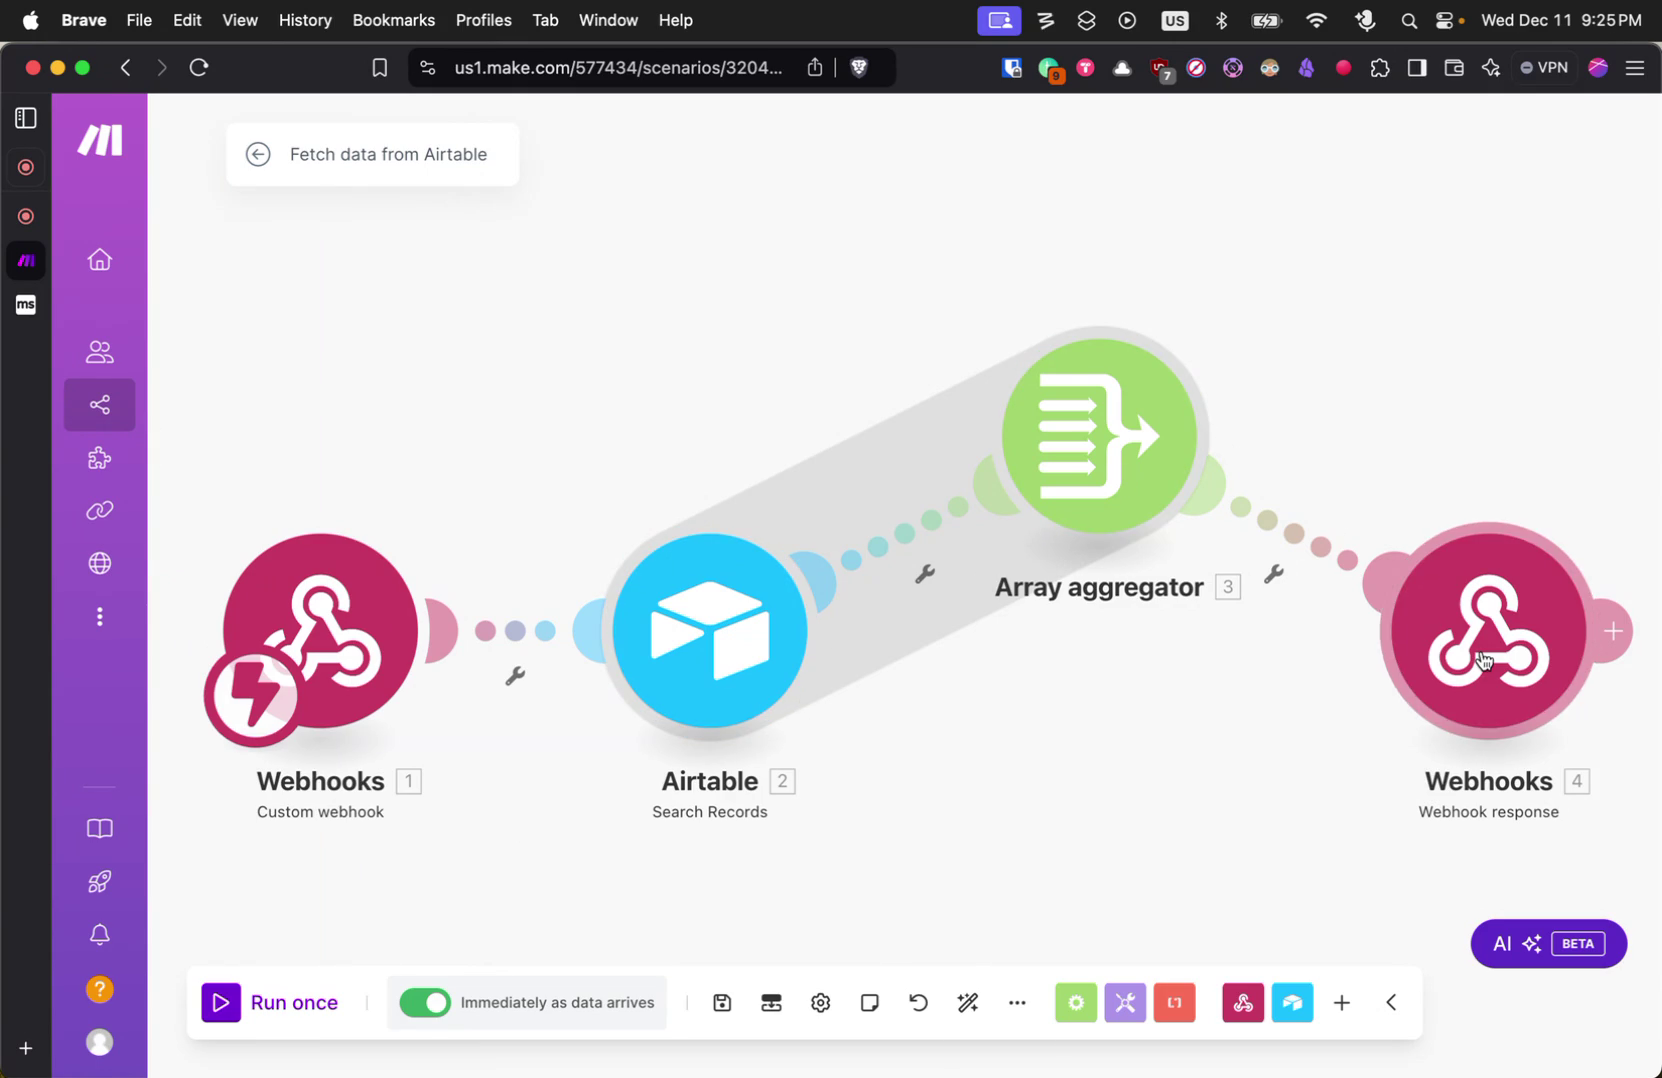
Step 18
The response format will be in JSON with the metadata key included.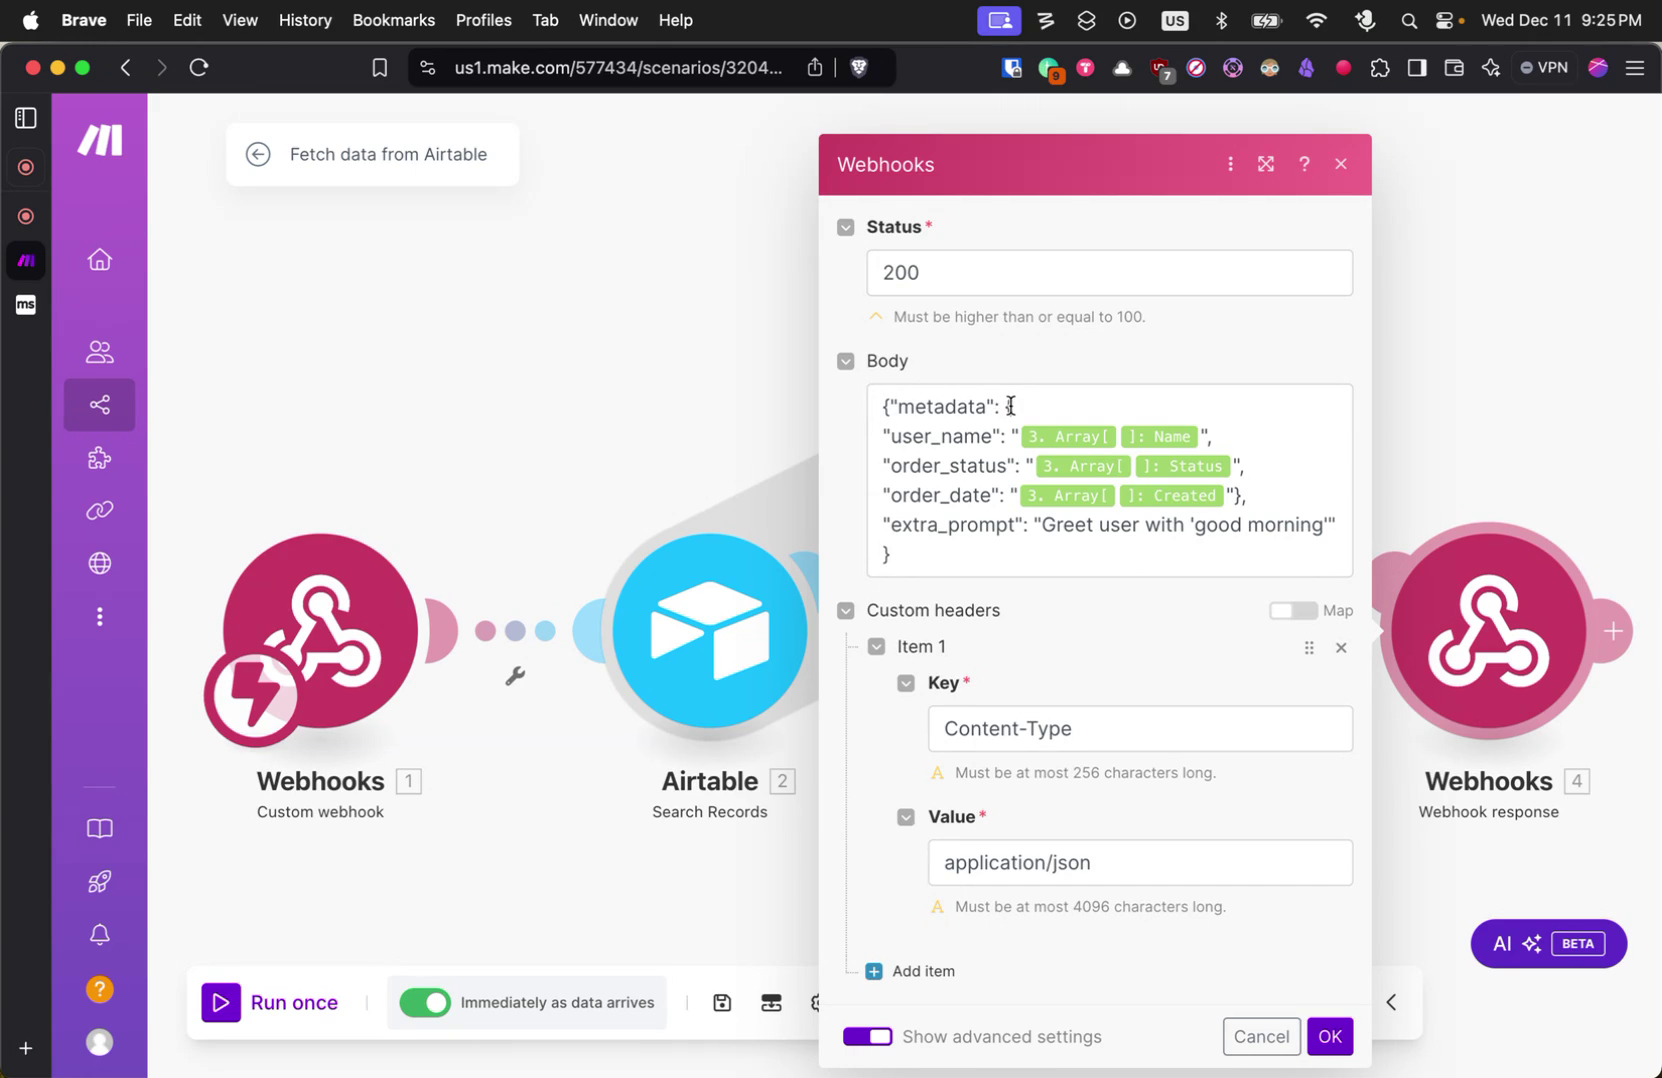
Step 19
This metadata will be attached to the session for use by the agent.