Steps to Embed the Voice Agent Call Widget
Step 1: Create your voice agent
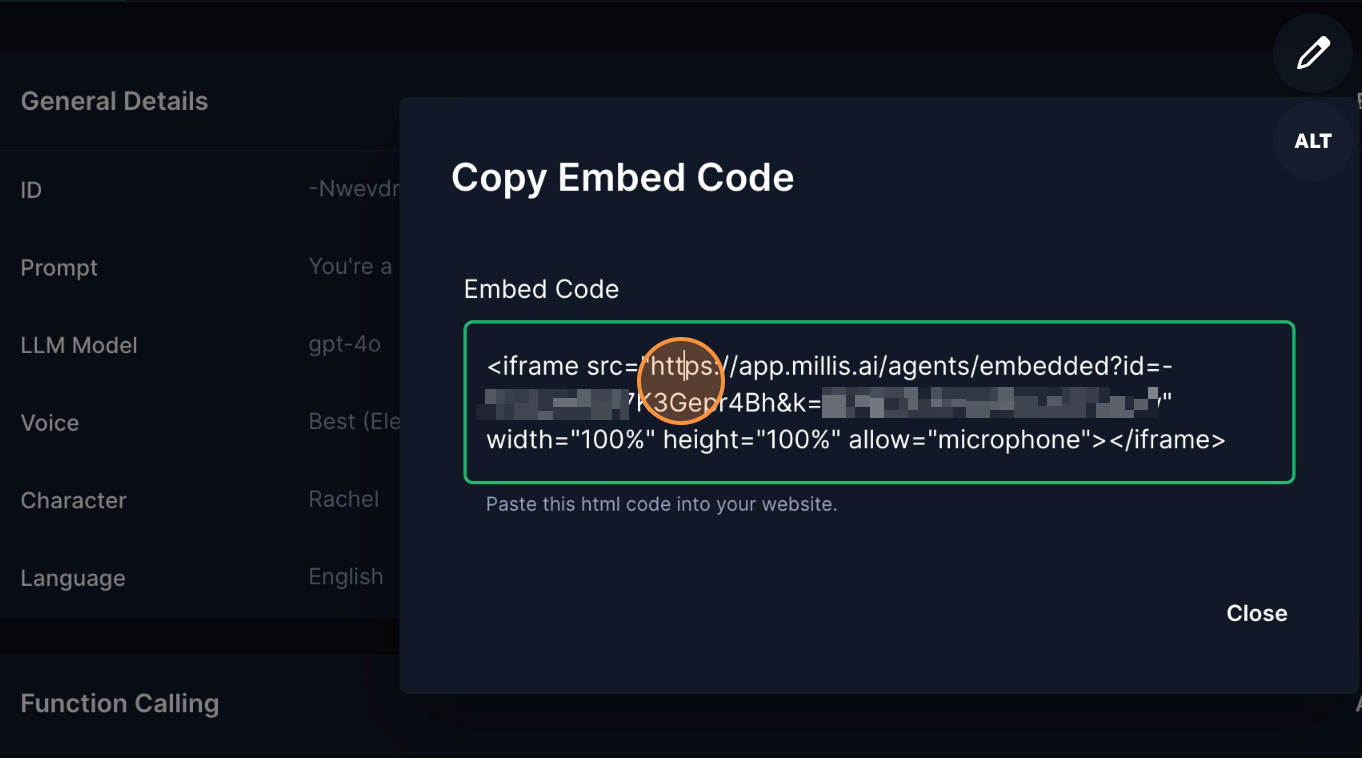
Step 2. Obtain the widget embeddable code
- Navigate to the voice agent you want to embed.
- Click on the “Actions” button on the top right and select ‘Embed to public site’.

- Copy the provided HTML code.
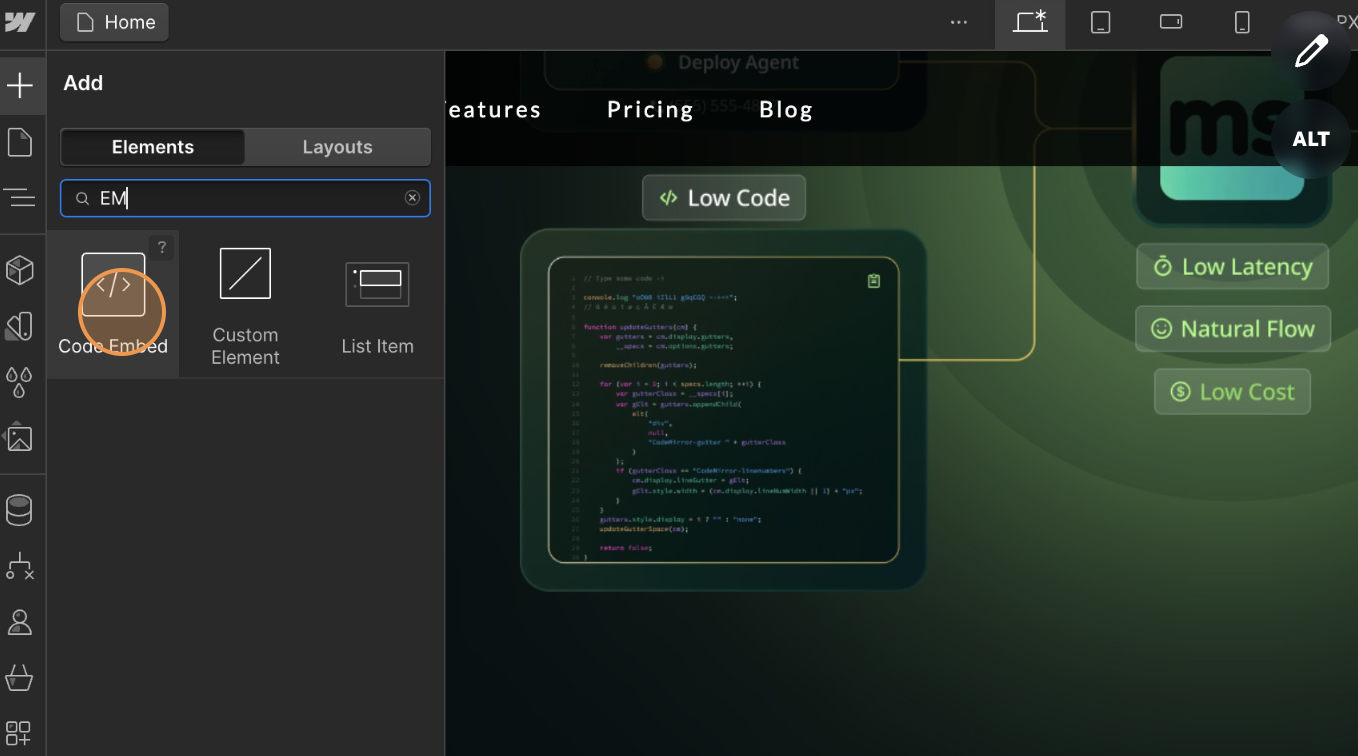
Step 3: Embed the widget into your web application
With the HTML code, you can place it anywhere in your web app to embed the widget. Here’s how to do it on Webflow:- Navigate to the designated area and add a “Code Embed” component.
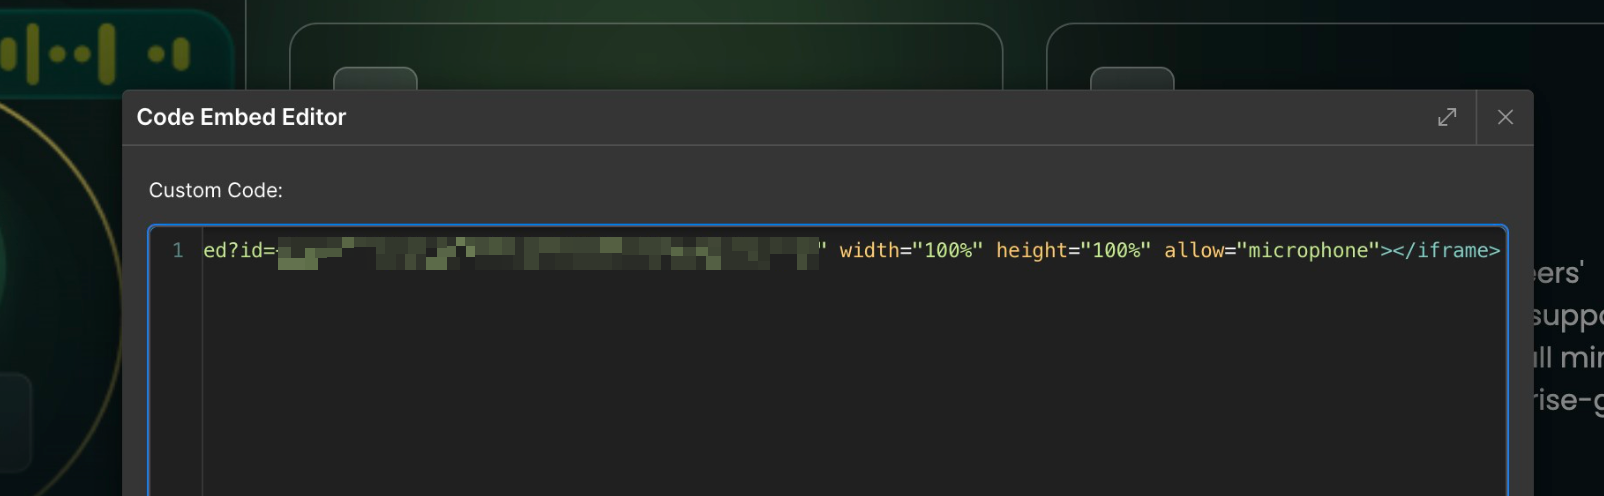
- Paste the HTML code provided above, then click ‘Save’.
Adding Metadata via URL Parameters
You can customize each widget session by adding URL parameters that will be passed as metadata. This allows you to provide context-specific information to your voice agent.Example Usage
You can add metadata parameters like this:Common Use Cases
- Adding user identification information
- Passing context about the page or section where the widget is embedded
- Providing custom configuration parameters for the conversation